Overview
The title of a web part helps users understand what content they’re looking at. Whether you want to rename a section like "News", "Jobs", or "Quick Links", this short tutorial shows you how to update the title and what visual impact it has on your page.
Changing the title is a small tweakbut it can make a big difference in clarity and structure.
Step-by-Step Guide
-
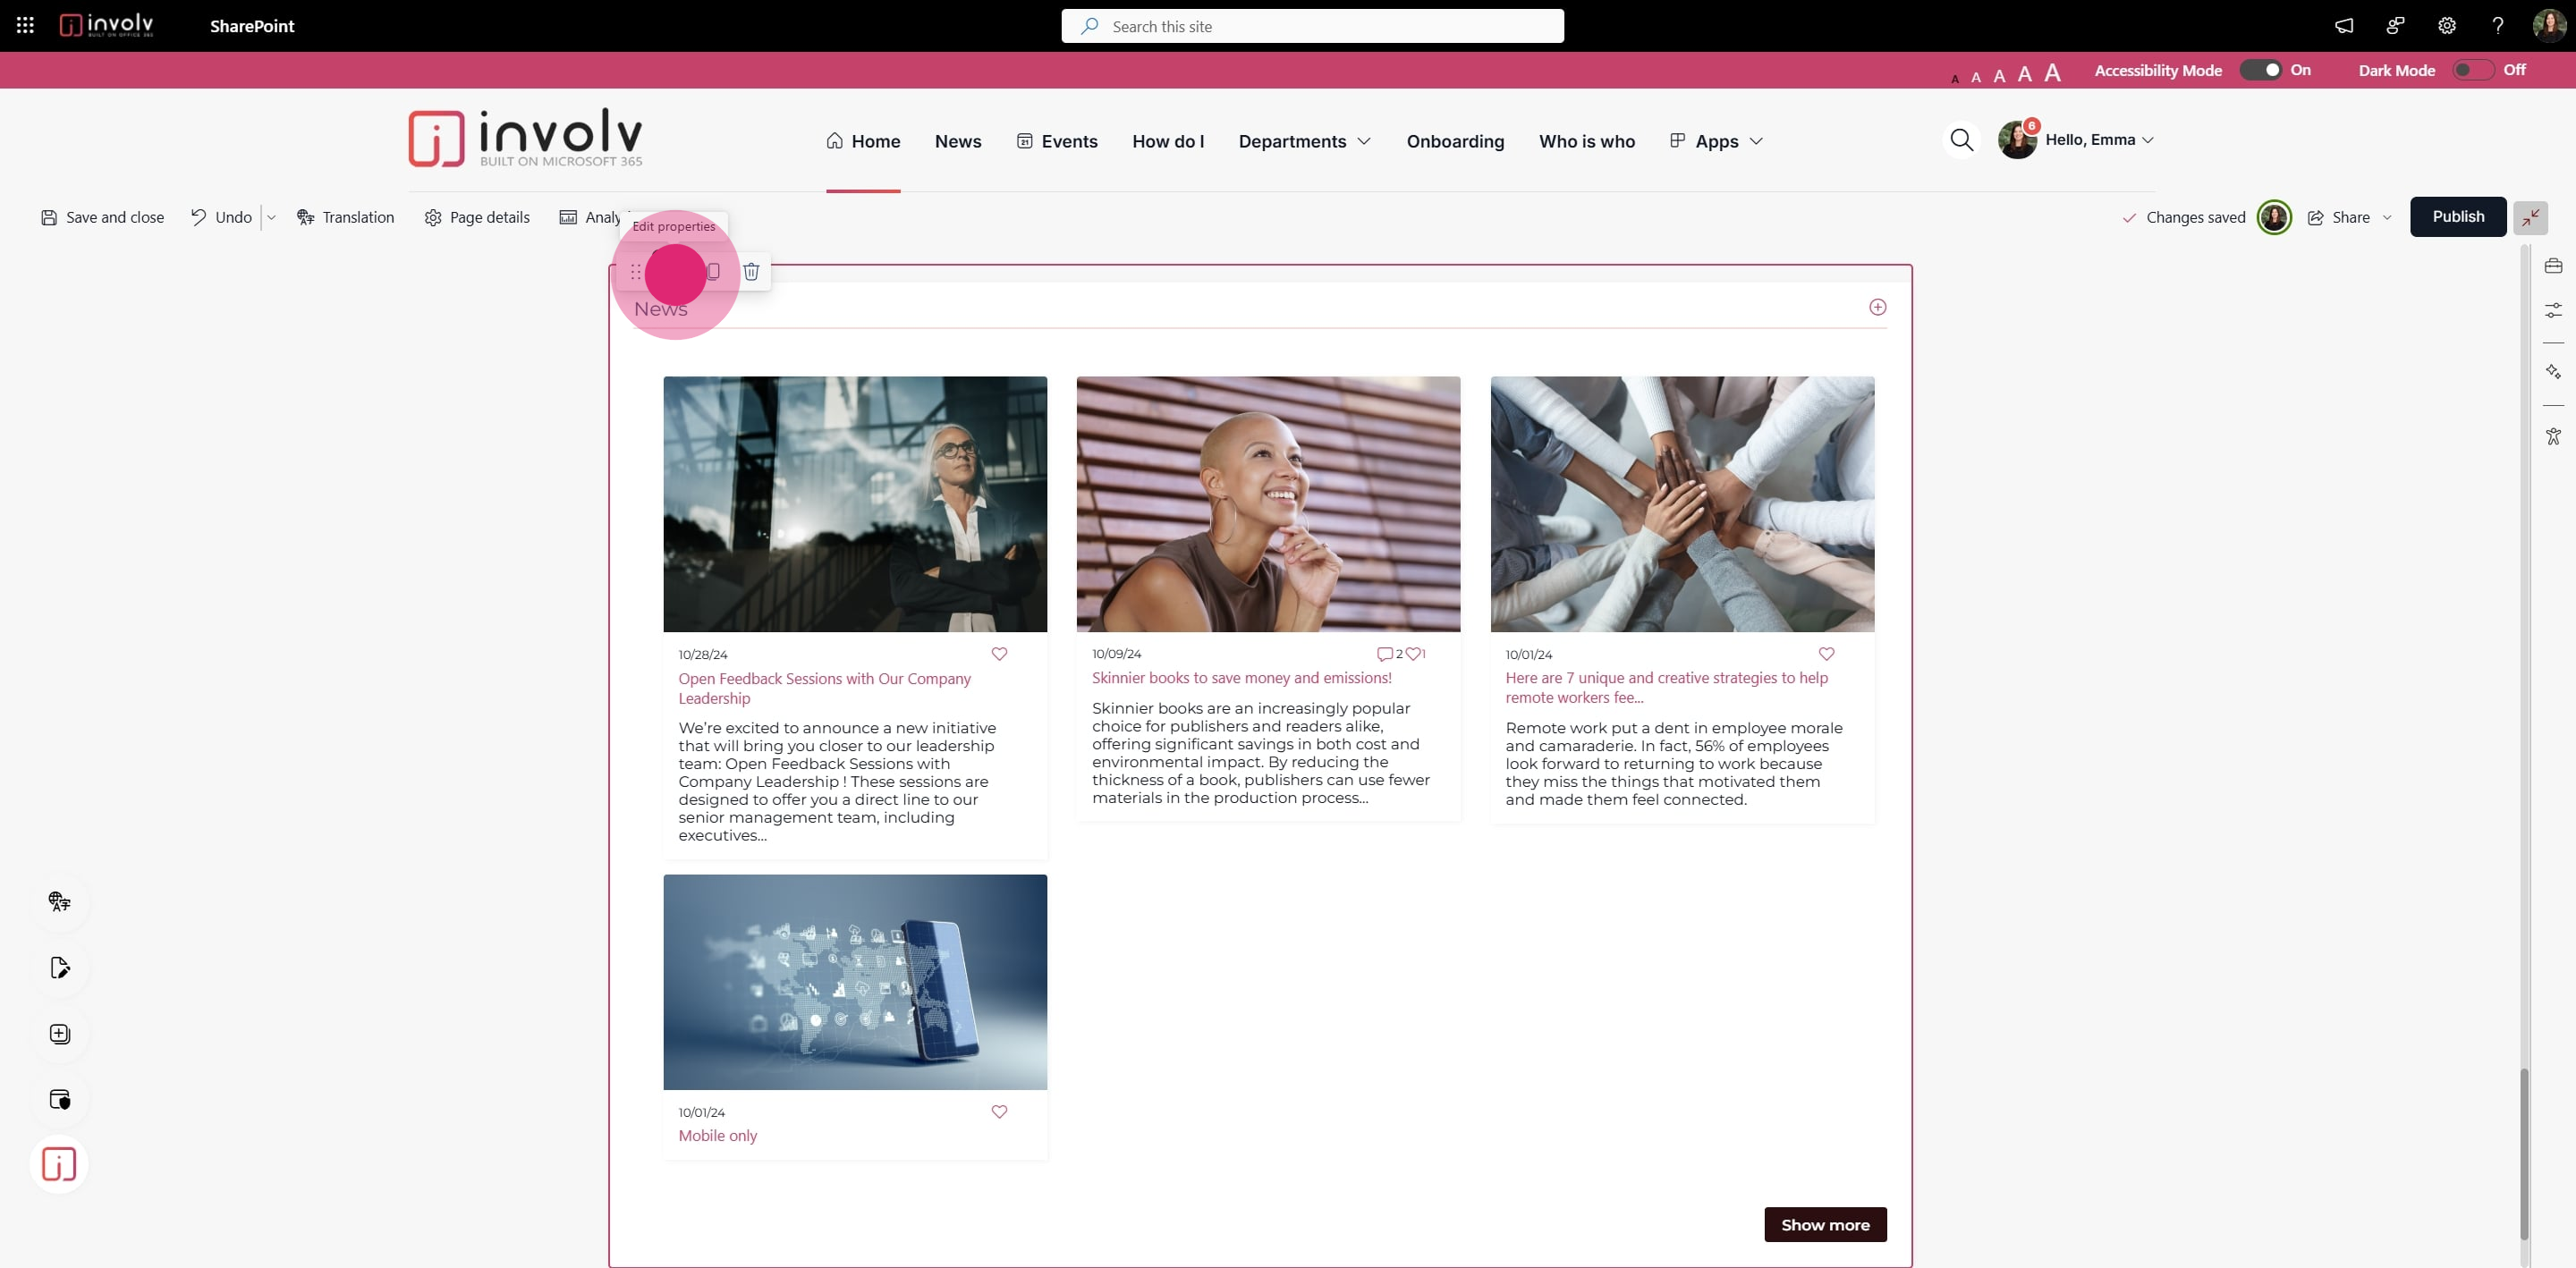
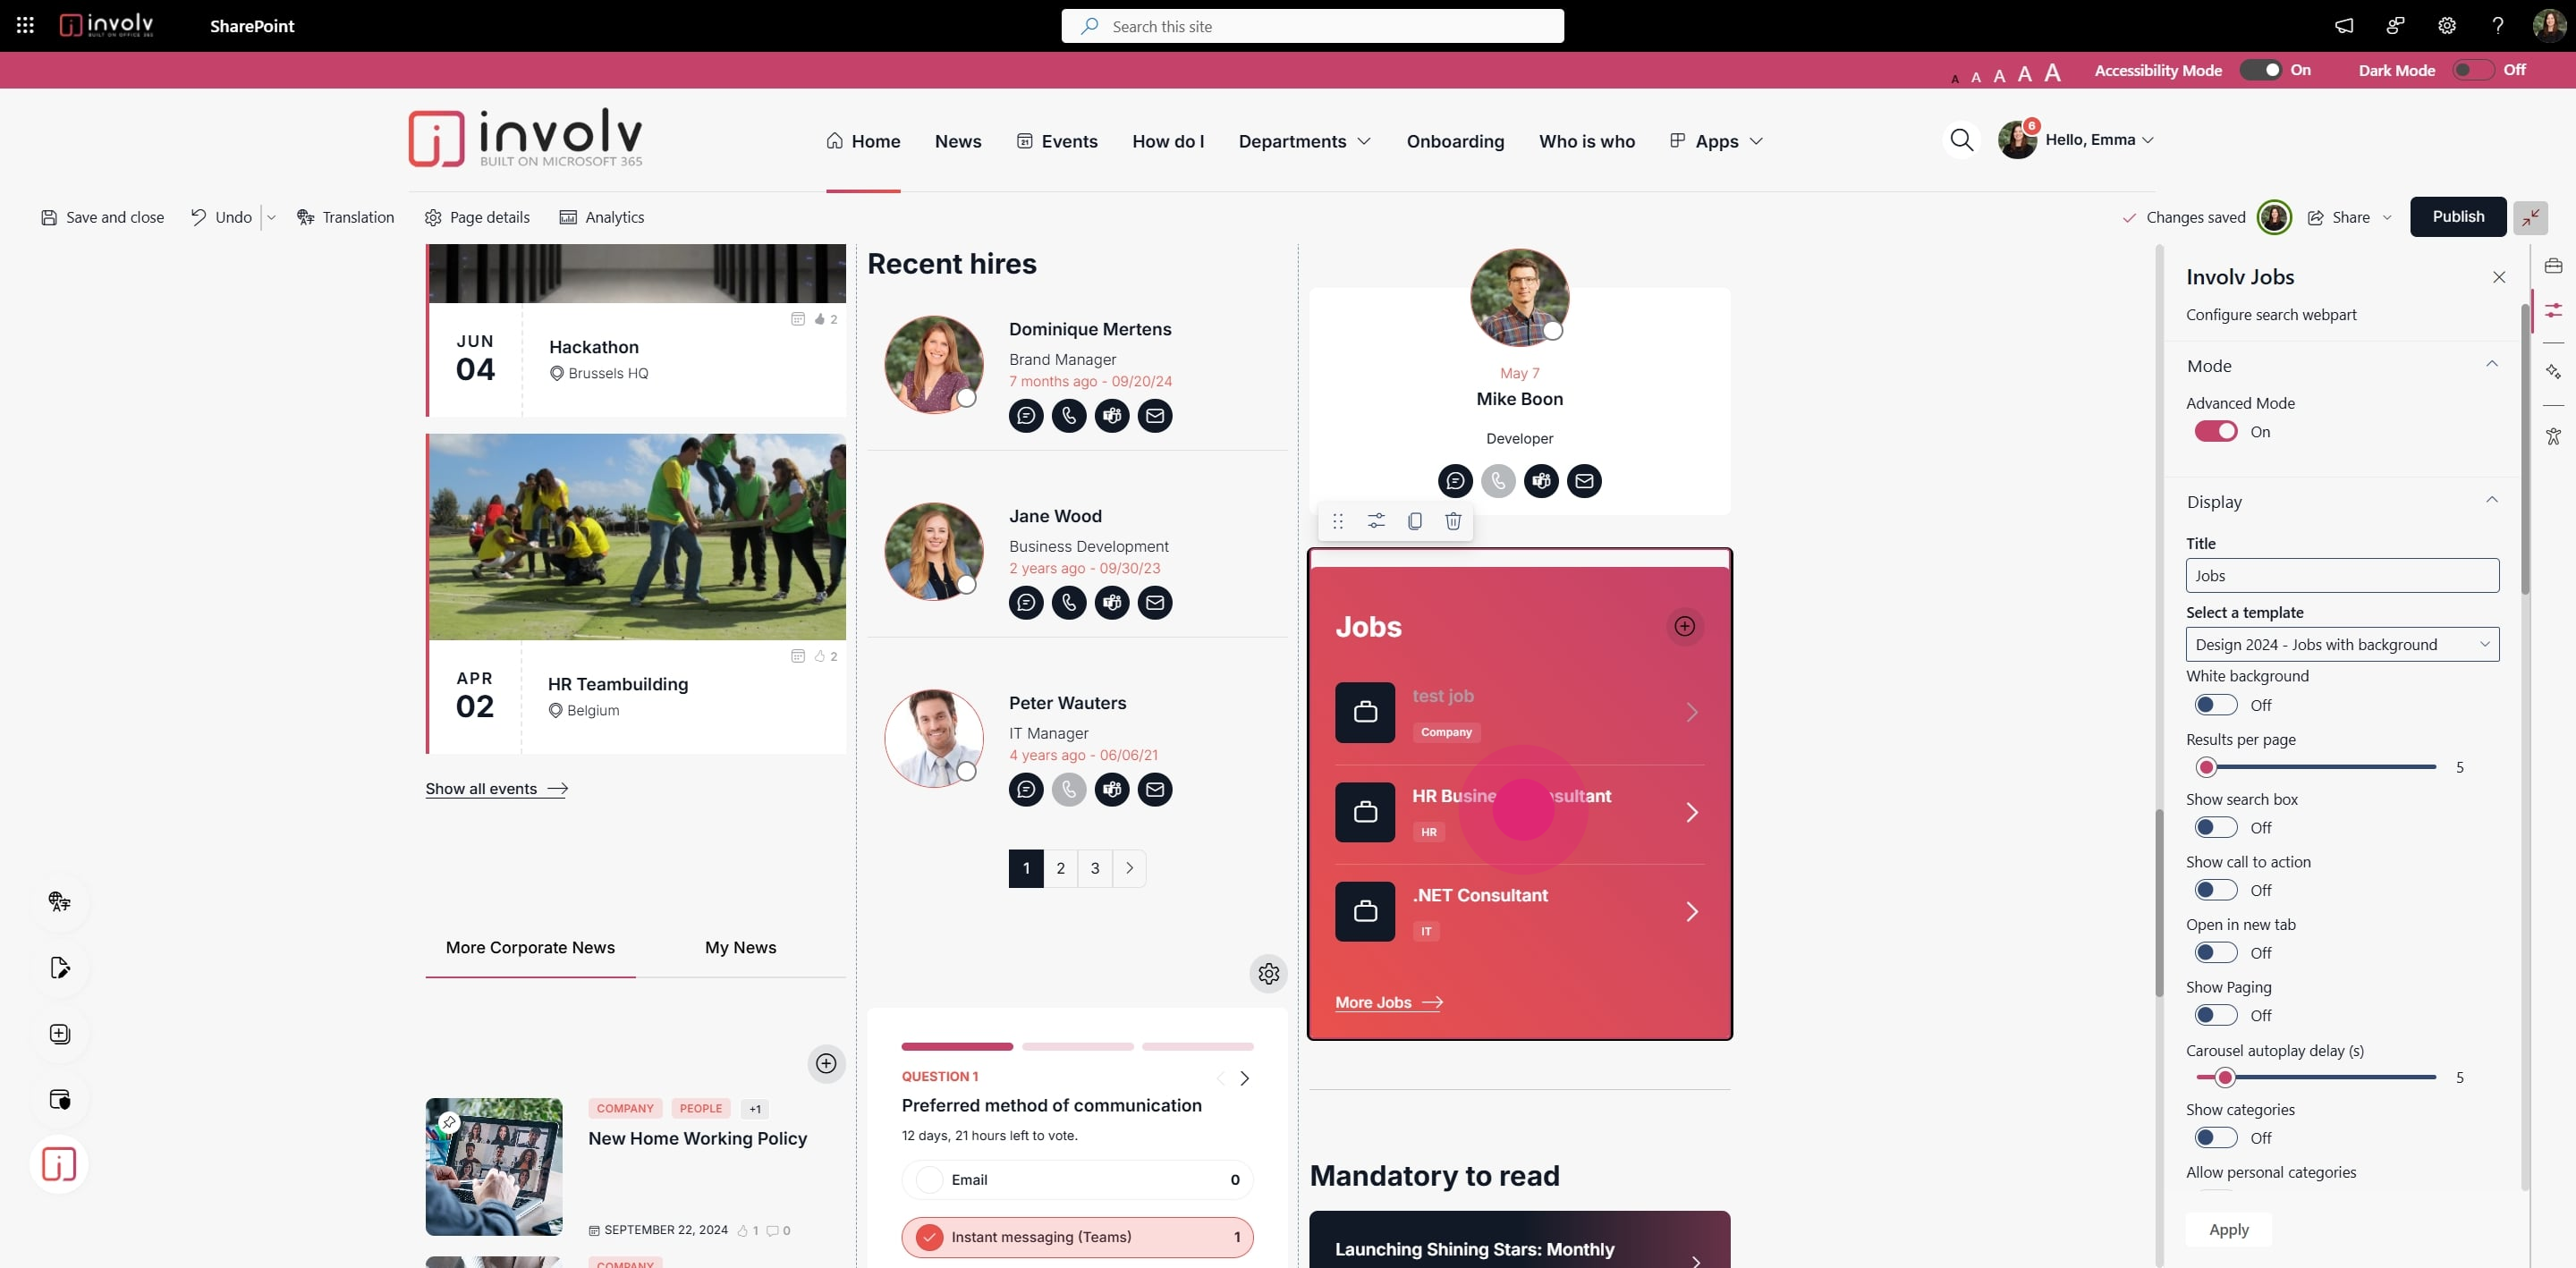
Open the Properties Panel
Click the settings icon on your web part to access its properties. -
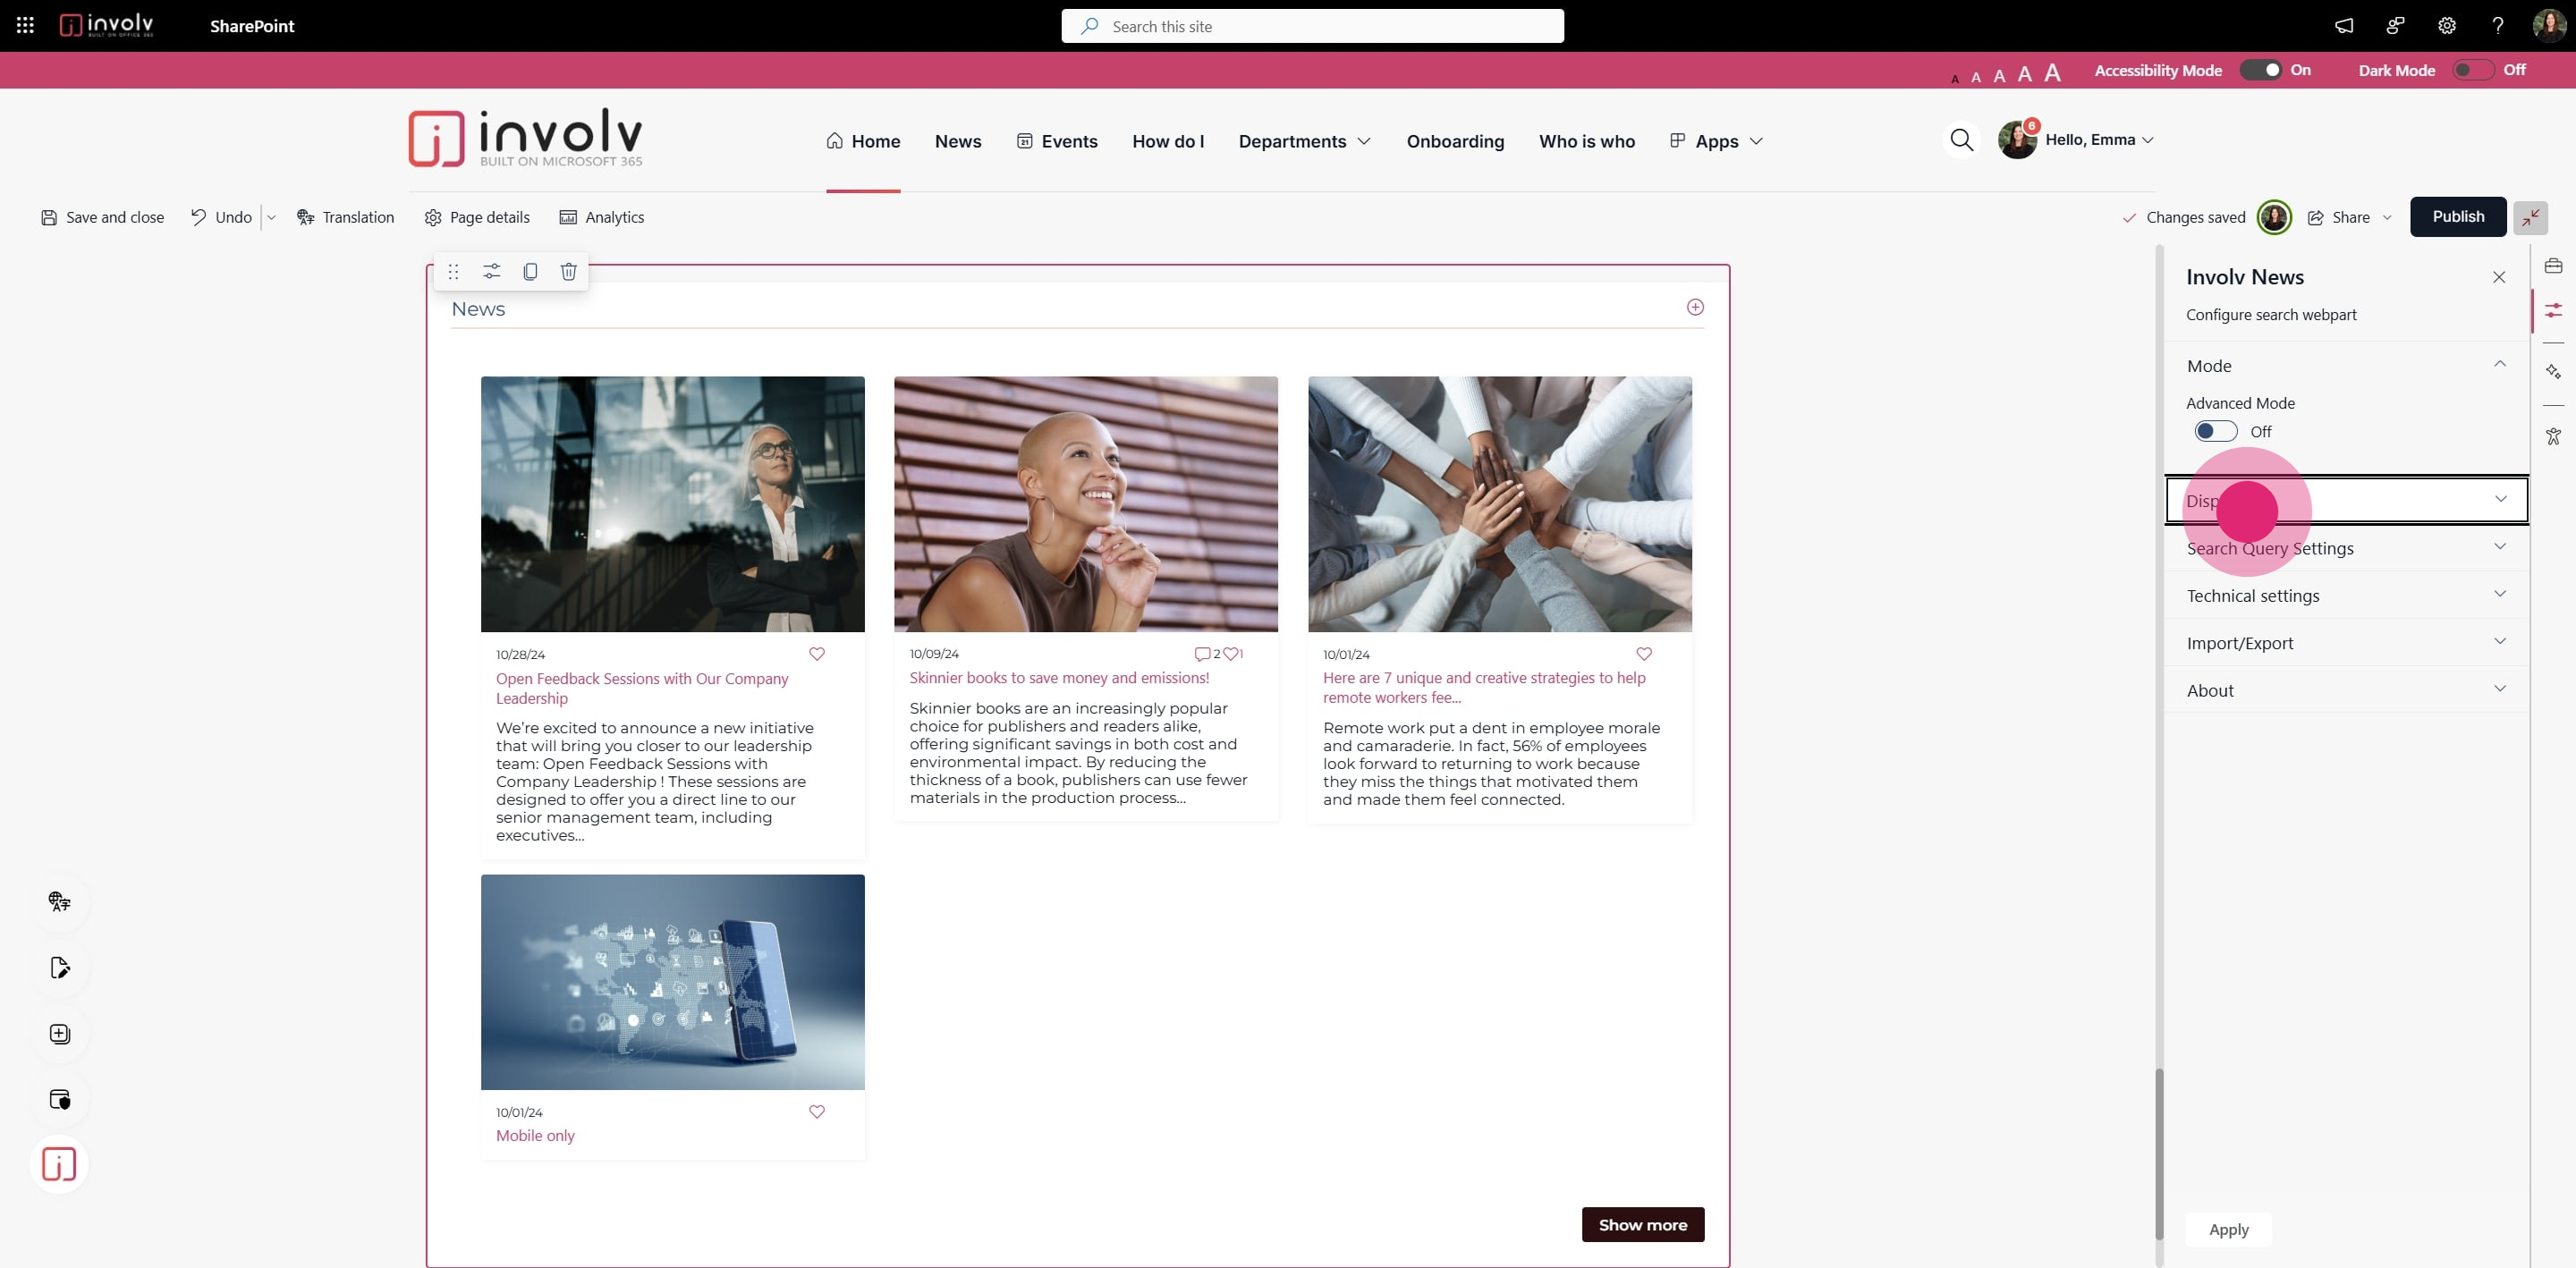
Navigate to the “Display” Section
Titles are typically managed under the Display tab. -
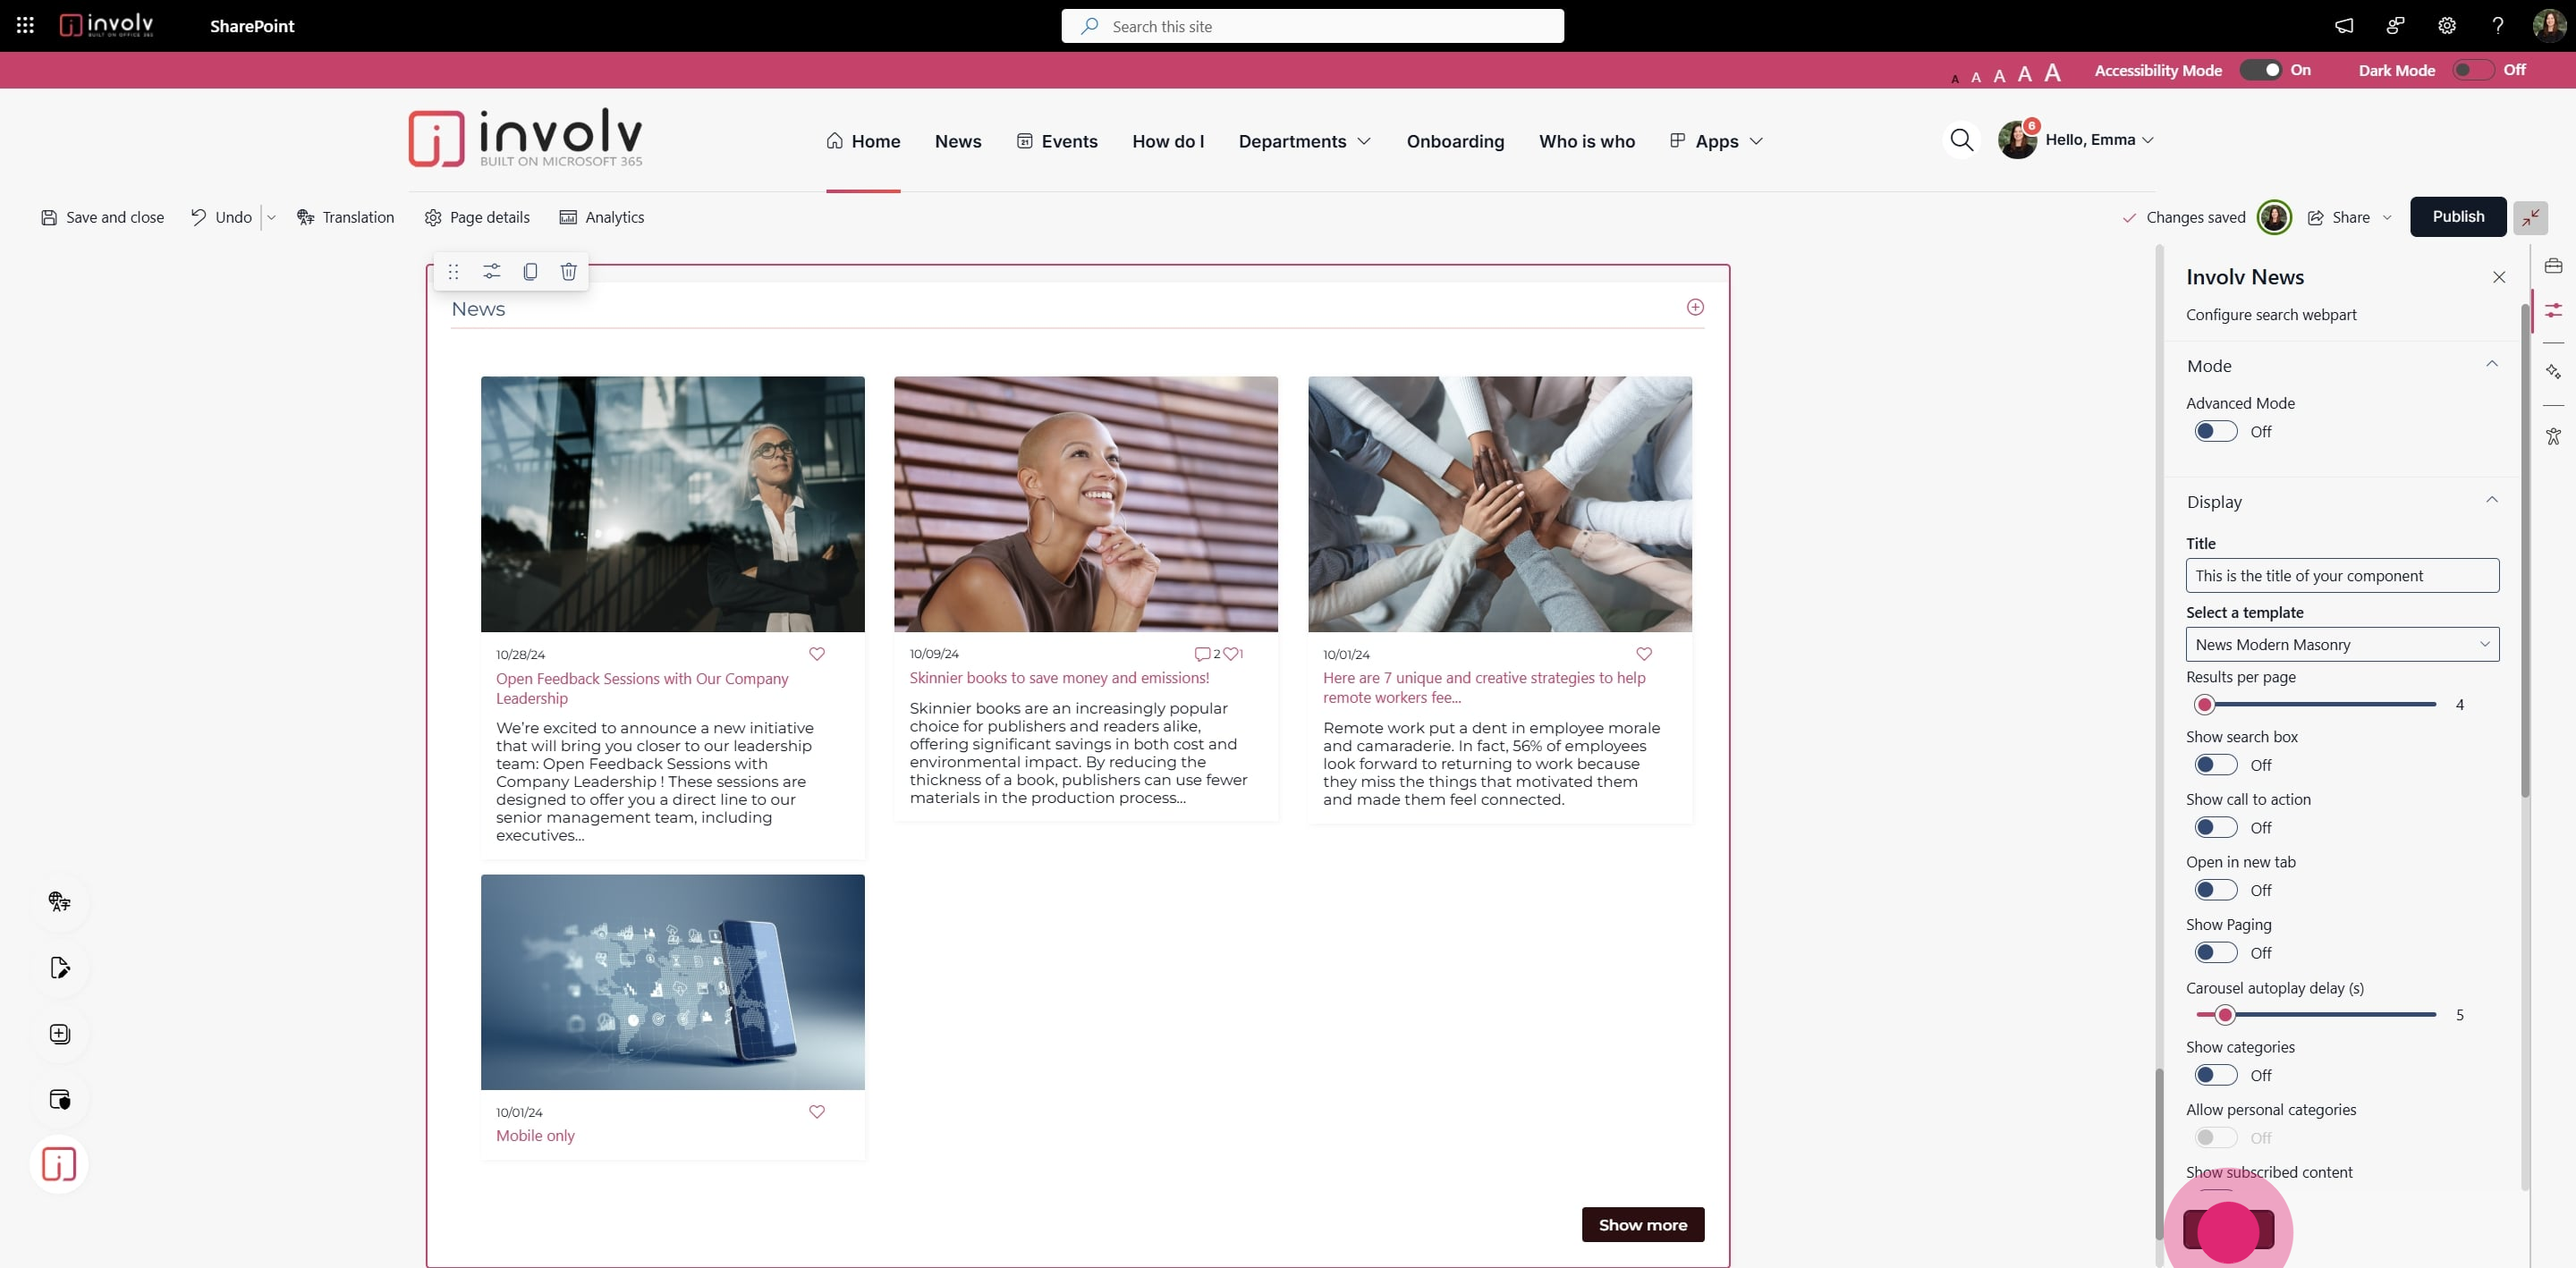
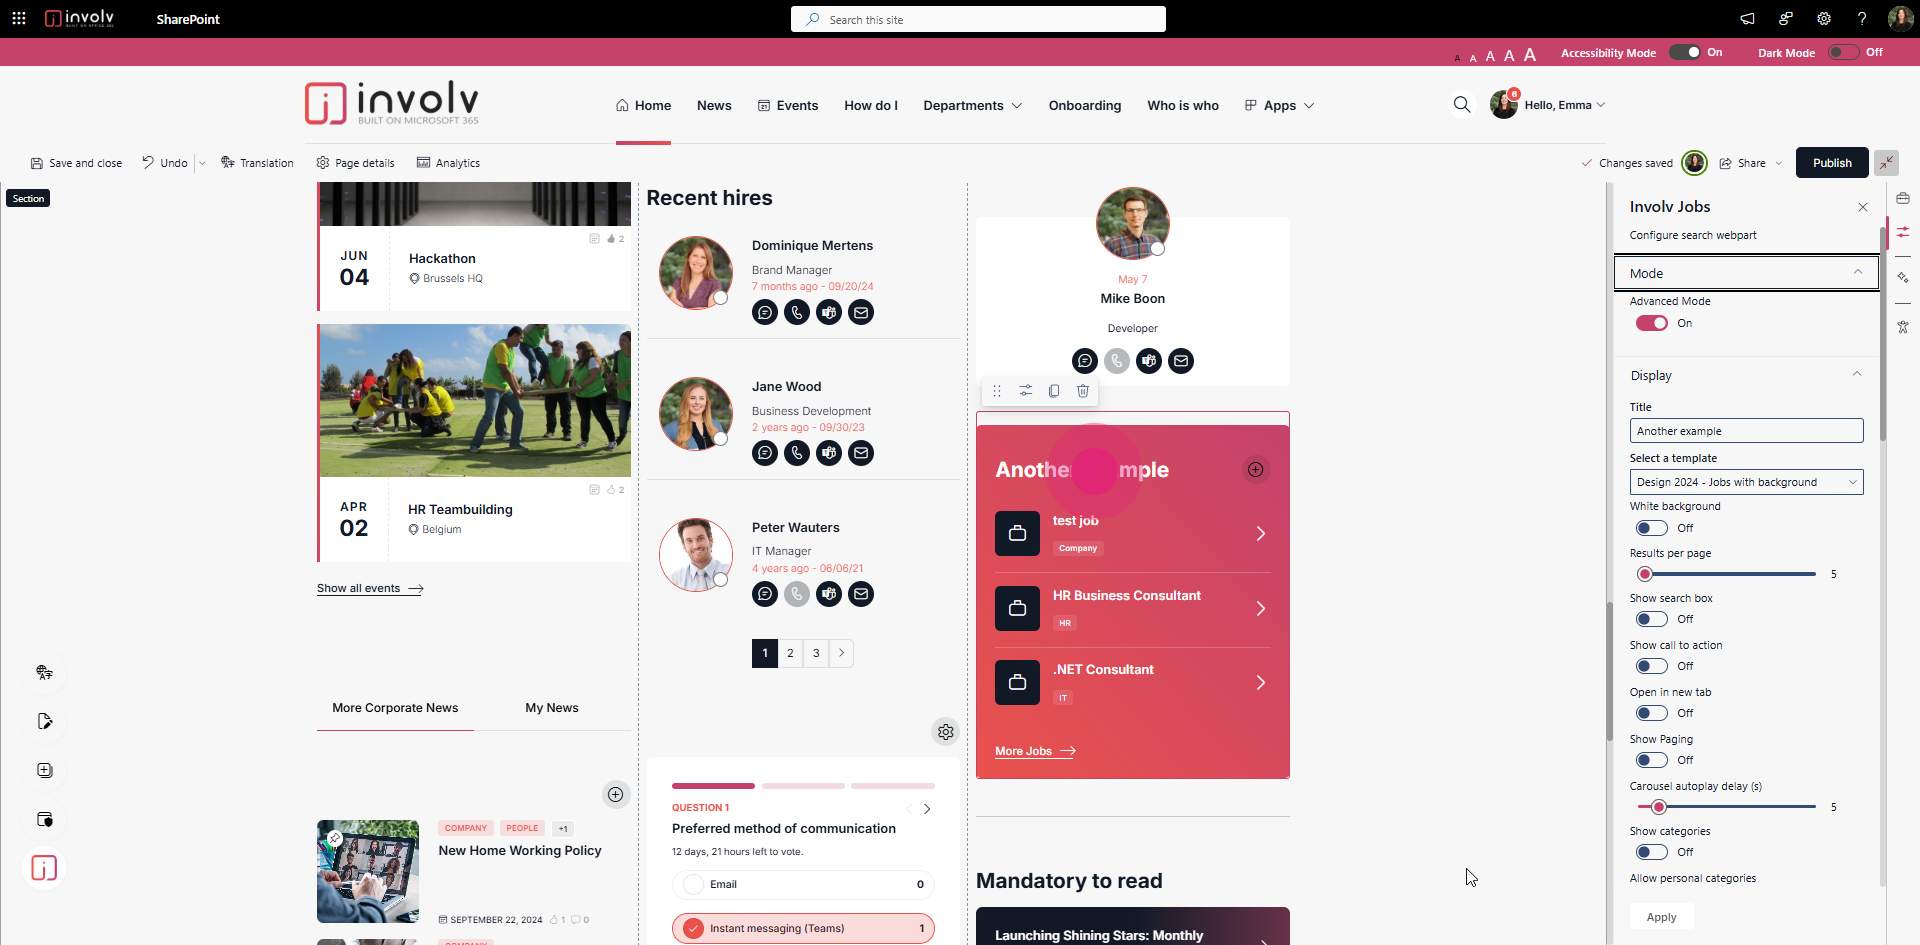
Enter Your New Title
Type in the name you want to use—for example, "Jobs" or "Team Contacts". -
Click “Apply” to Preview
You'll need to click Apply to see the changes take effect. -
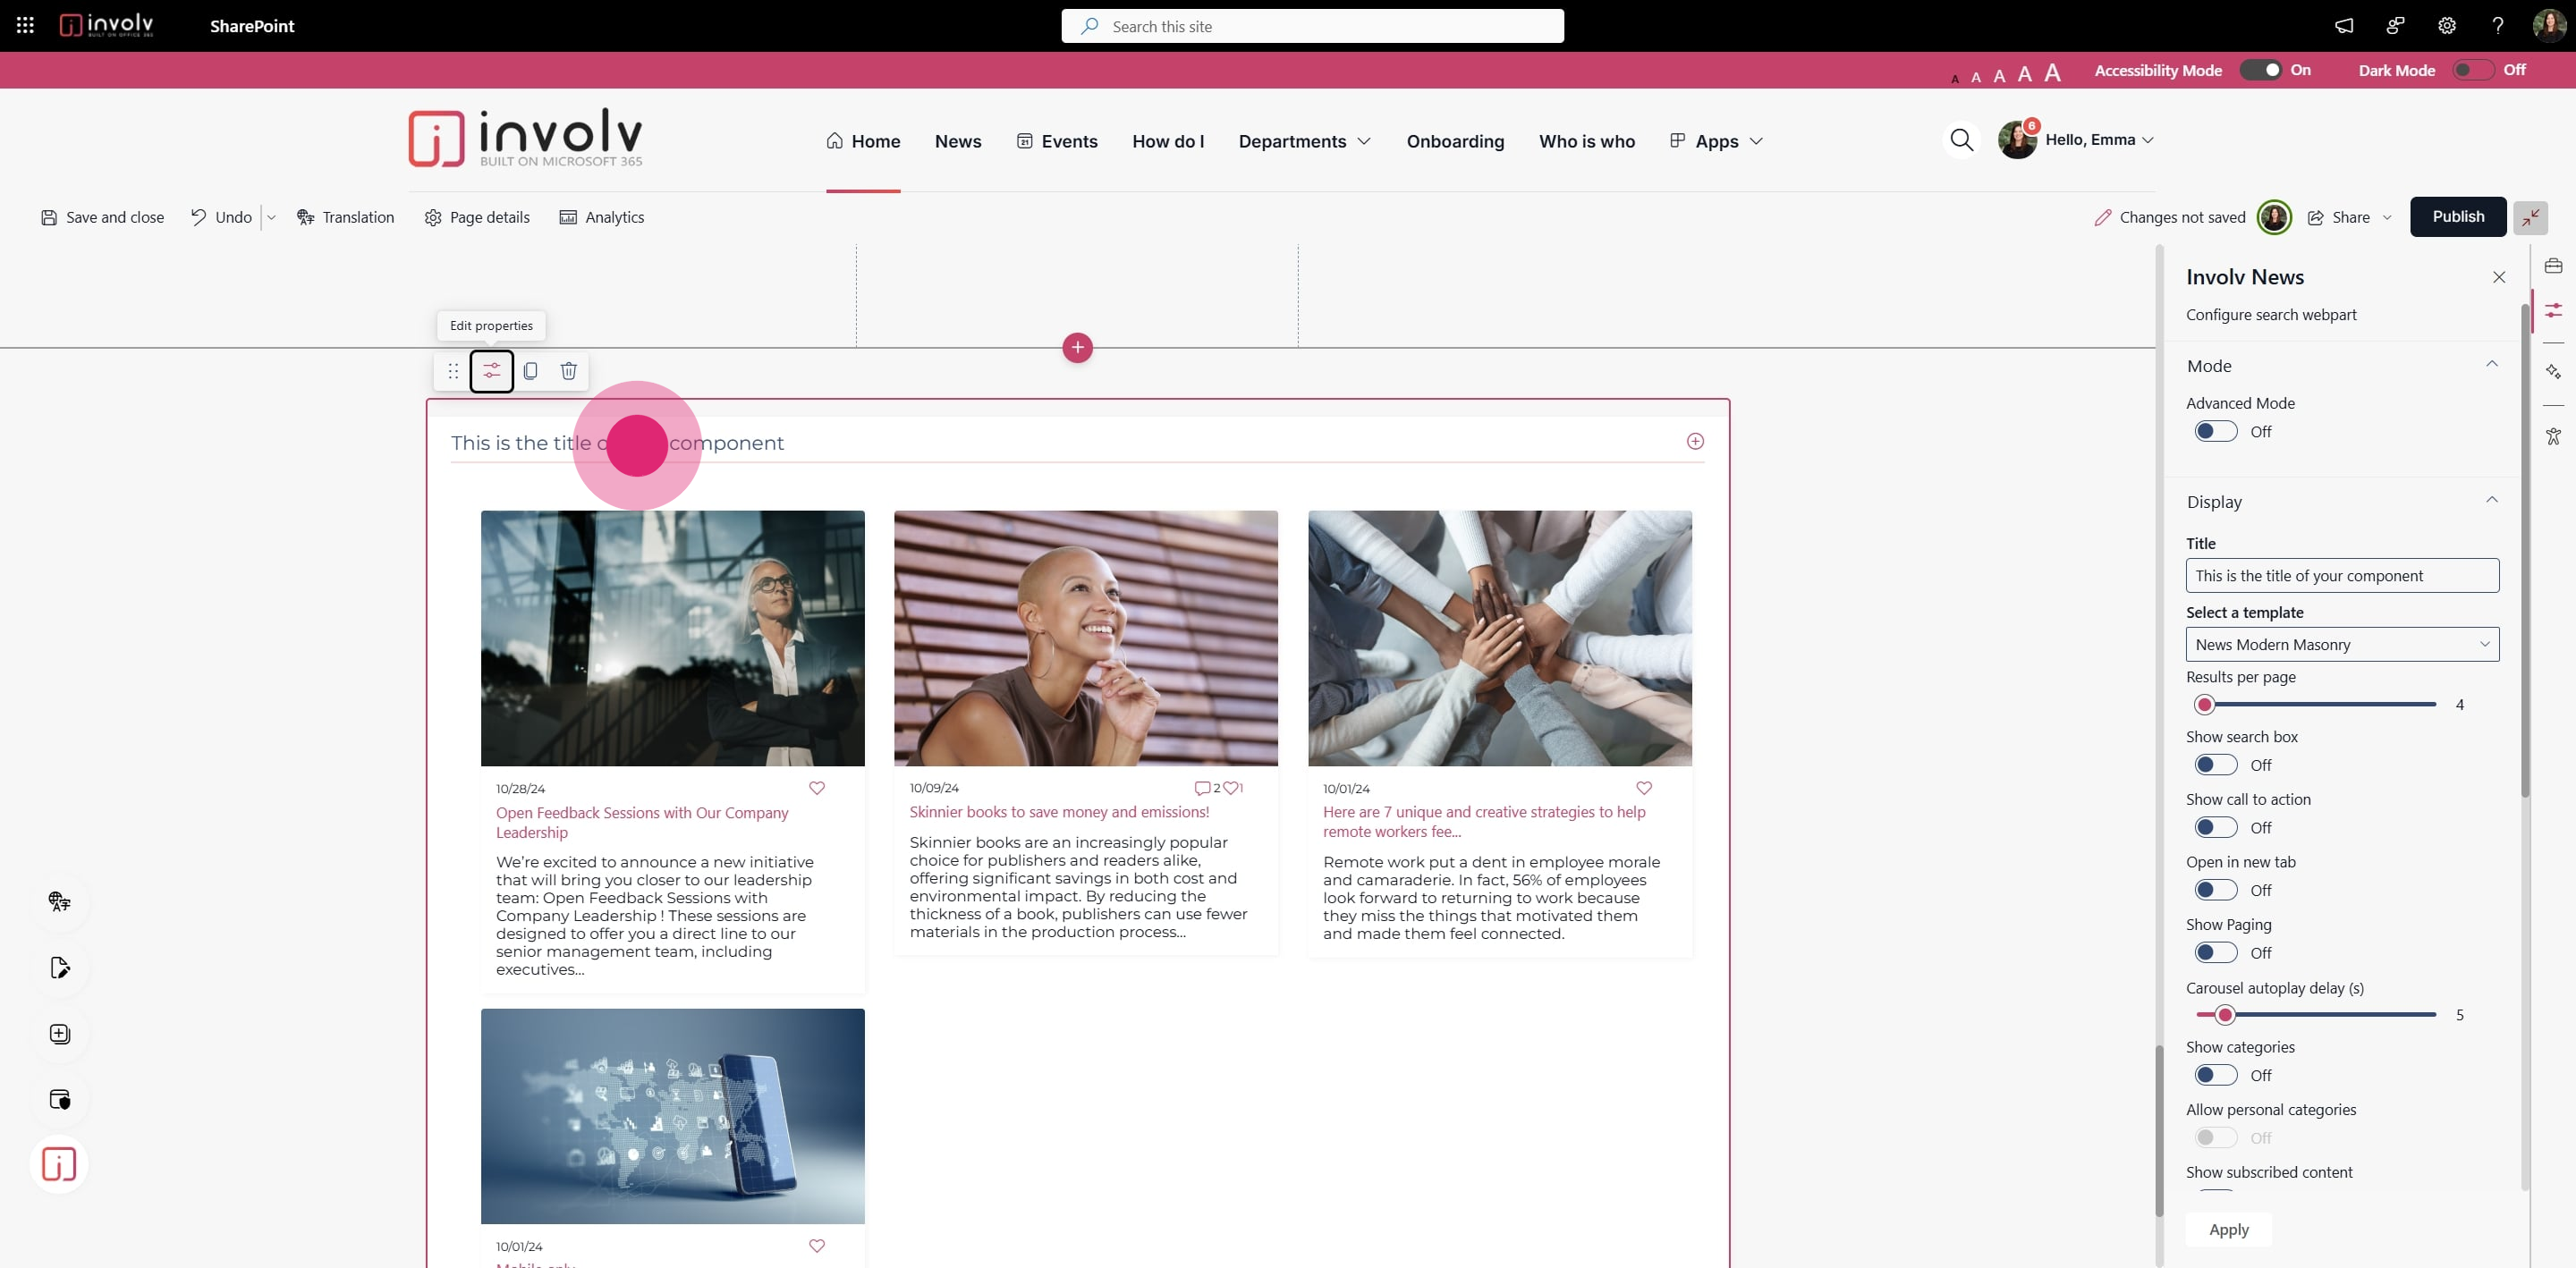
Check Where the Title Appears
Depending on your layout or theme, the title usually shows in the top-left corner of the web part. -
Real Example
In this case, we’ve named the component "Jobs", and the title appears visibly above it. -
Make Further Changes if Needed
Reopen the properties panel at any time to adjust the title. -
Apply and Done!
Click Apply one final time to confirm your changes. That’s it!
1. To start open the edit properties panel
2. Then, click on "Display".
3. To see any results click apply.
4. The title will be displayed somewhere depending on the theme and configuration. Usually in the top left corner.
5. Another example. Here the title is "Jobs"
6. To edit go to properties
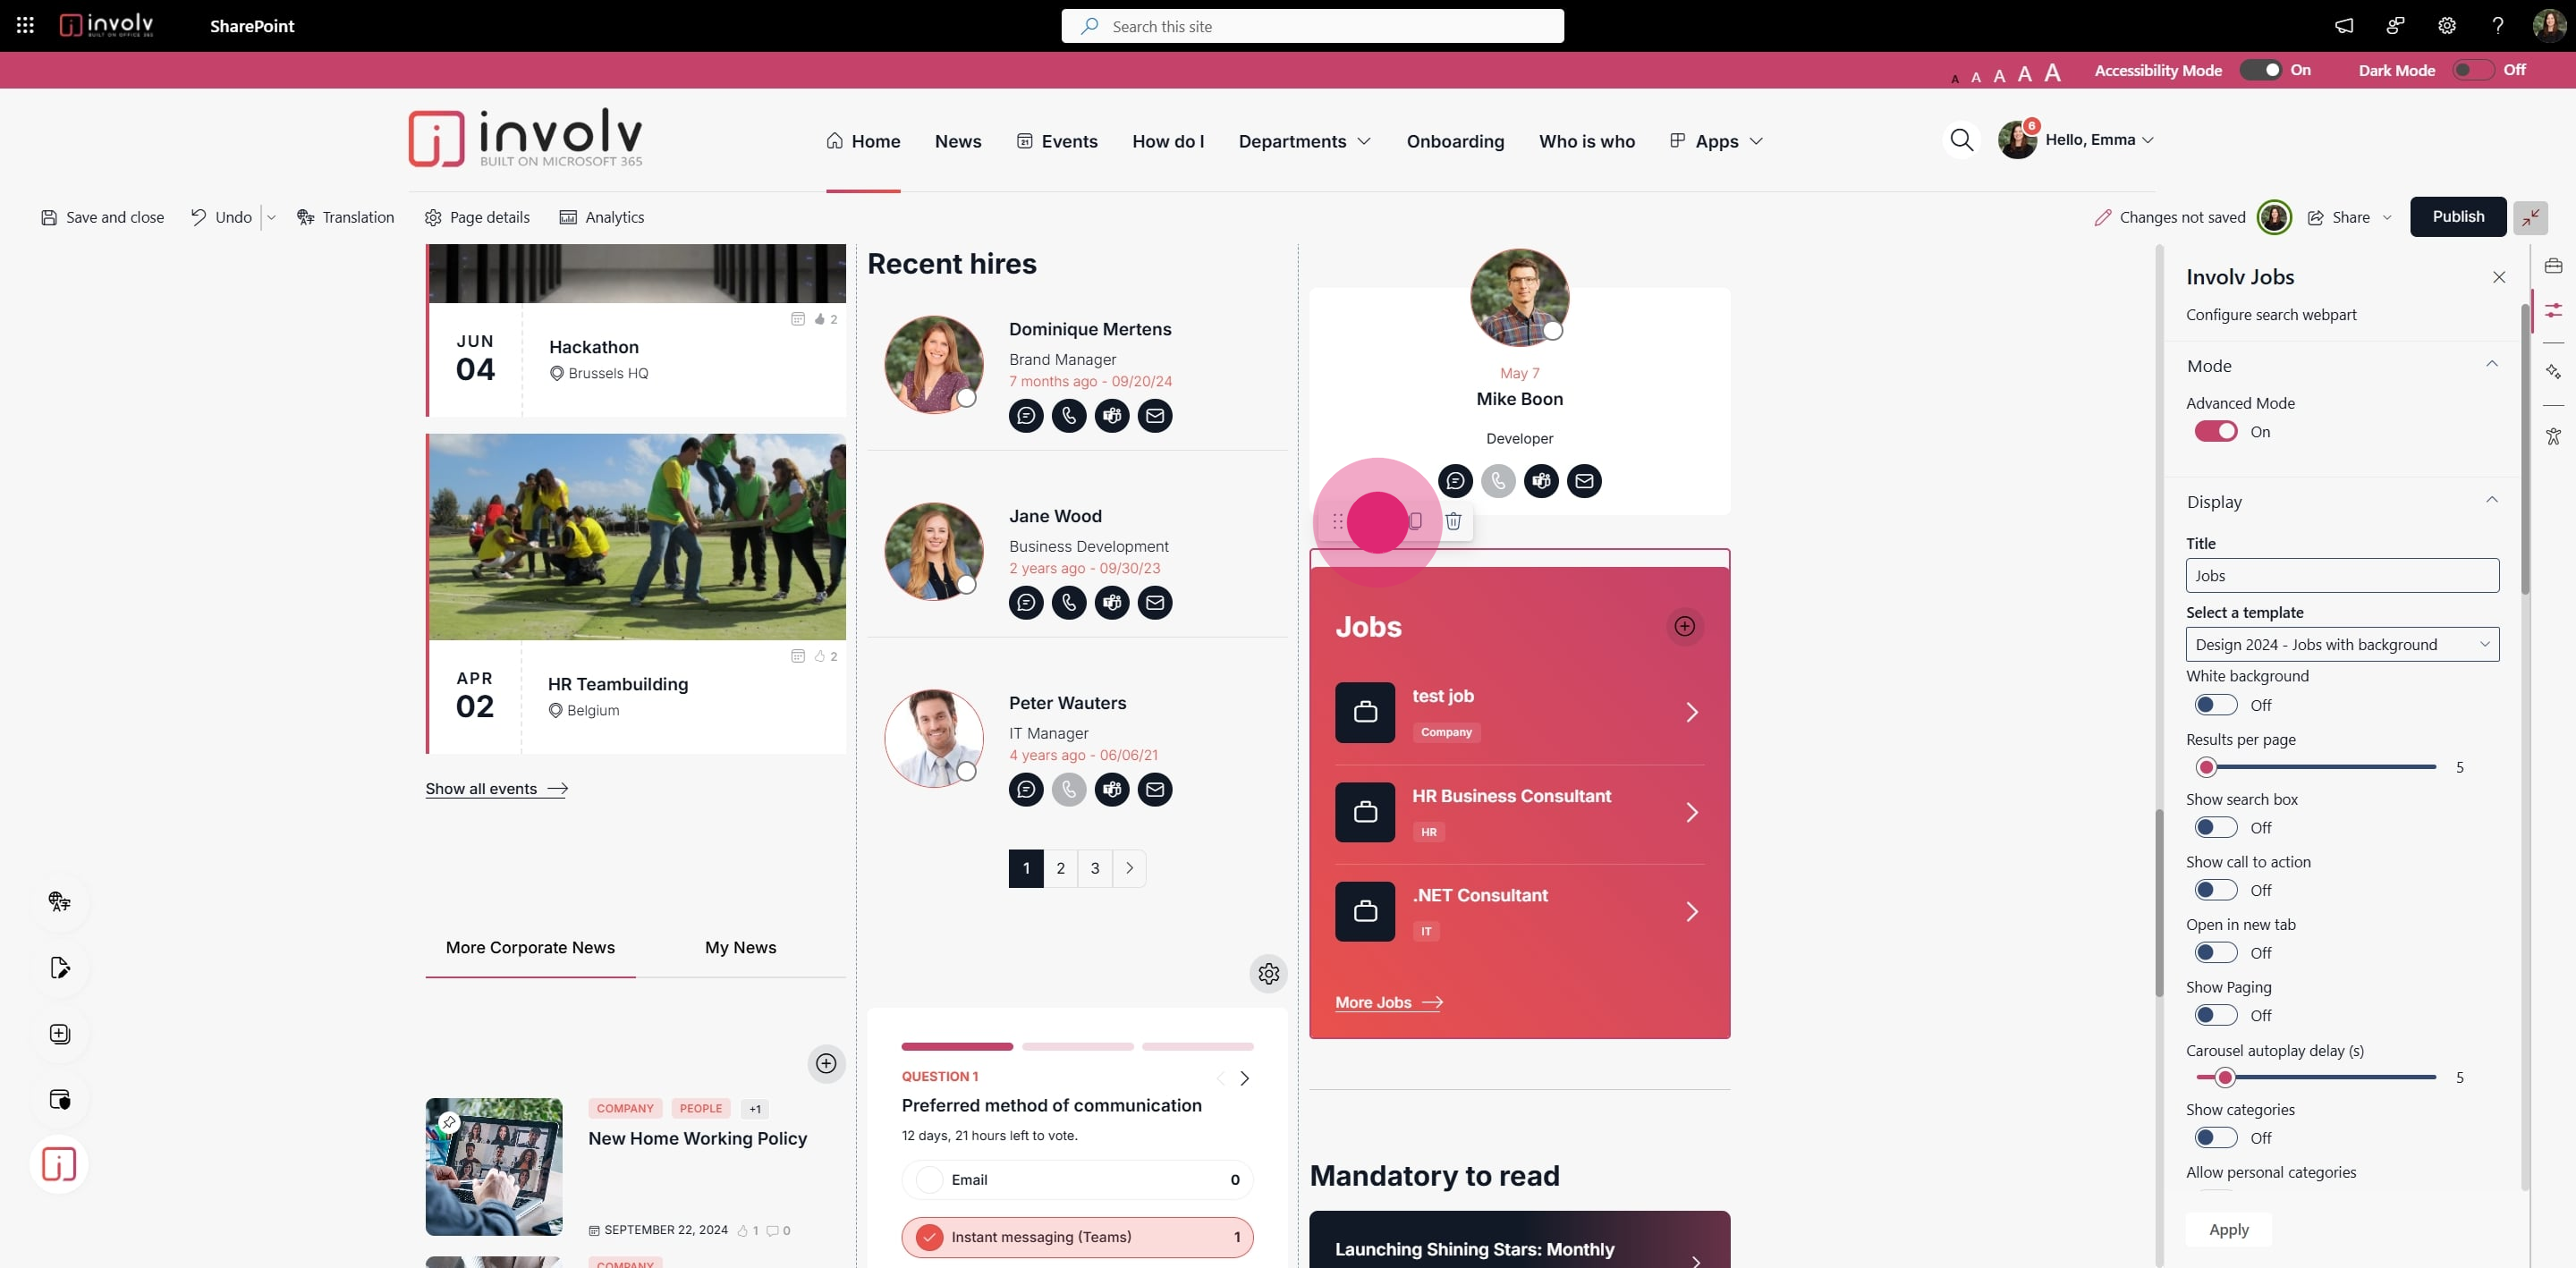
7. To end off, click on "Apply".

8. Perfect!
🔎 Note
If the title doesn’t appear as expected, it could be due to your intranet’s theme settings or layout configuration. In some cases, the title may be hidden or styled differently.