Overview
The Welcome Tour web part helps first-time users navigate your intranet by walking them through key components and features. In this tutorial, you’ll learn how to set up and customize the tour so users feel confident from day one.
▶️ Prefer a step-by-step walkthrough? Watch the interactive tutorial below.
What You’ll Learn:
-
How to add the Welcome Tour component
-
How to configure its behavior and appearance
-
How to define and edit the individual tour steps
-
How to republish and test the onboarding flow
Step-by-Step Summary
-
Open the Admin Panel
Navigate to the admin view of the page where you want to add the Welcome Tour. -
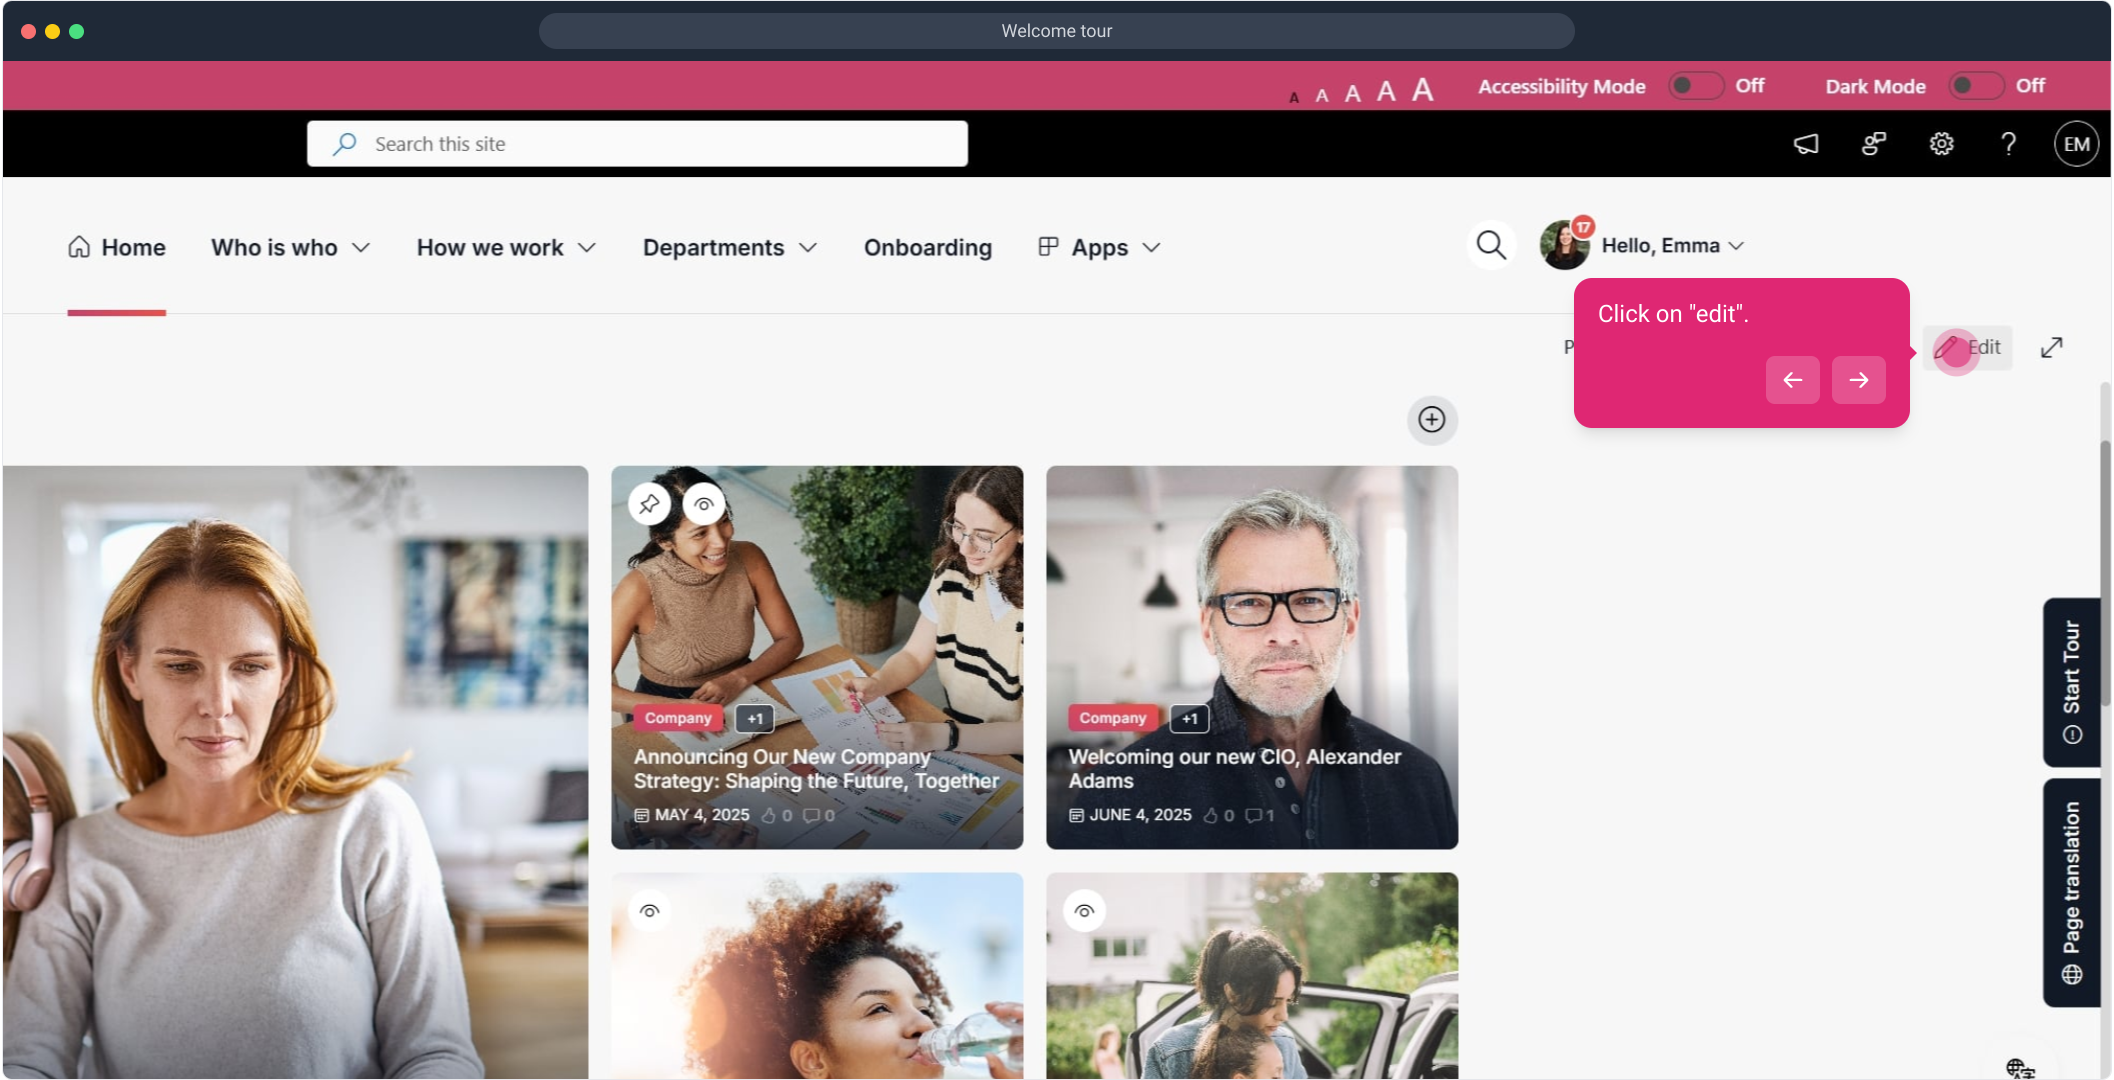
Click "Edit"
This allows you to modify the current layout. -
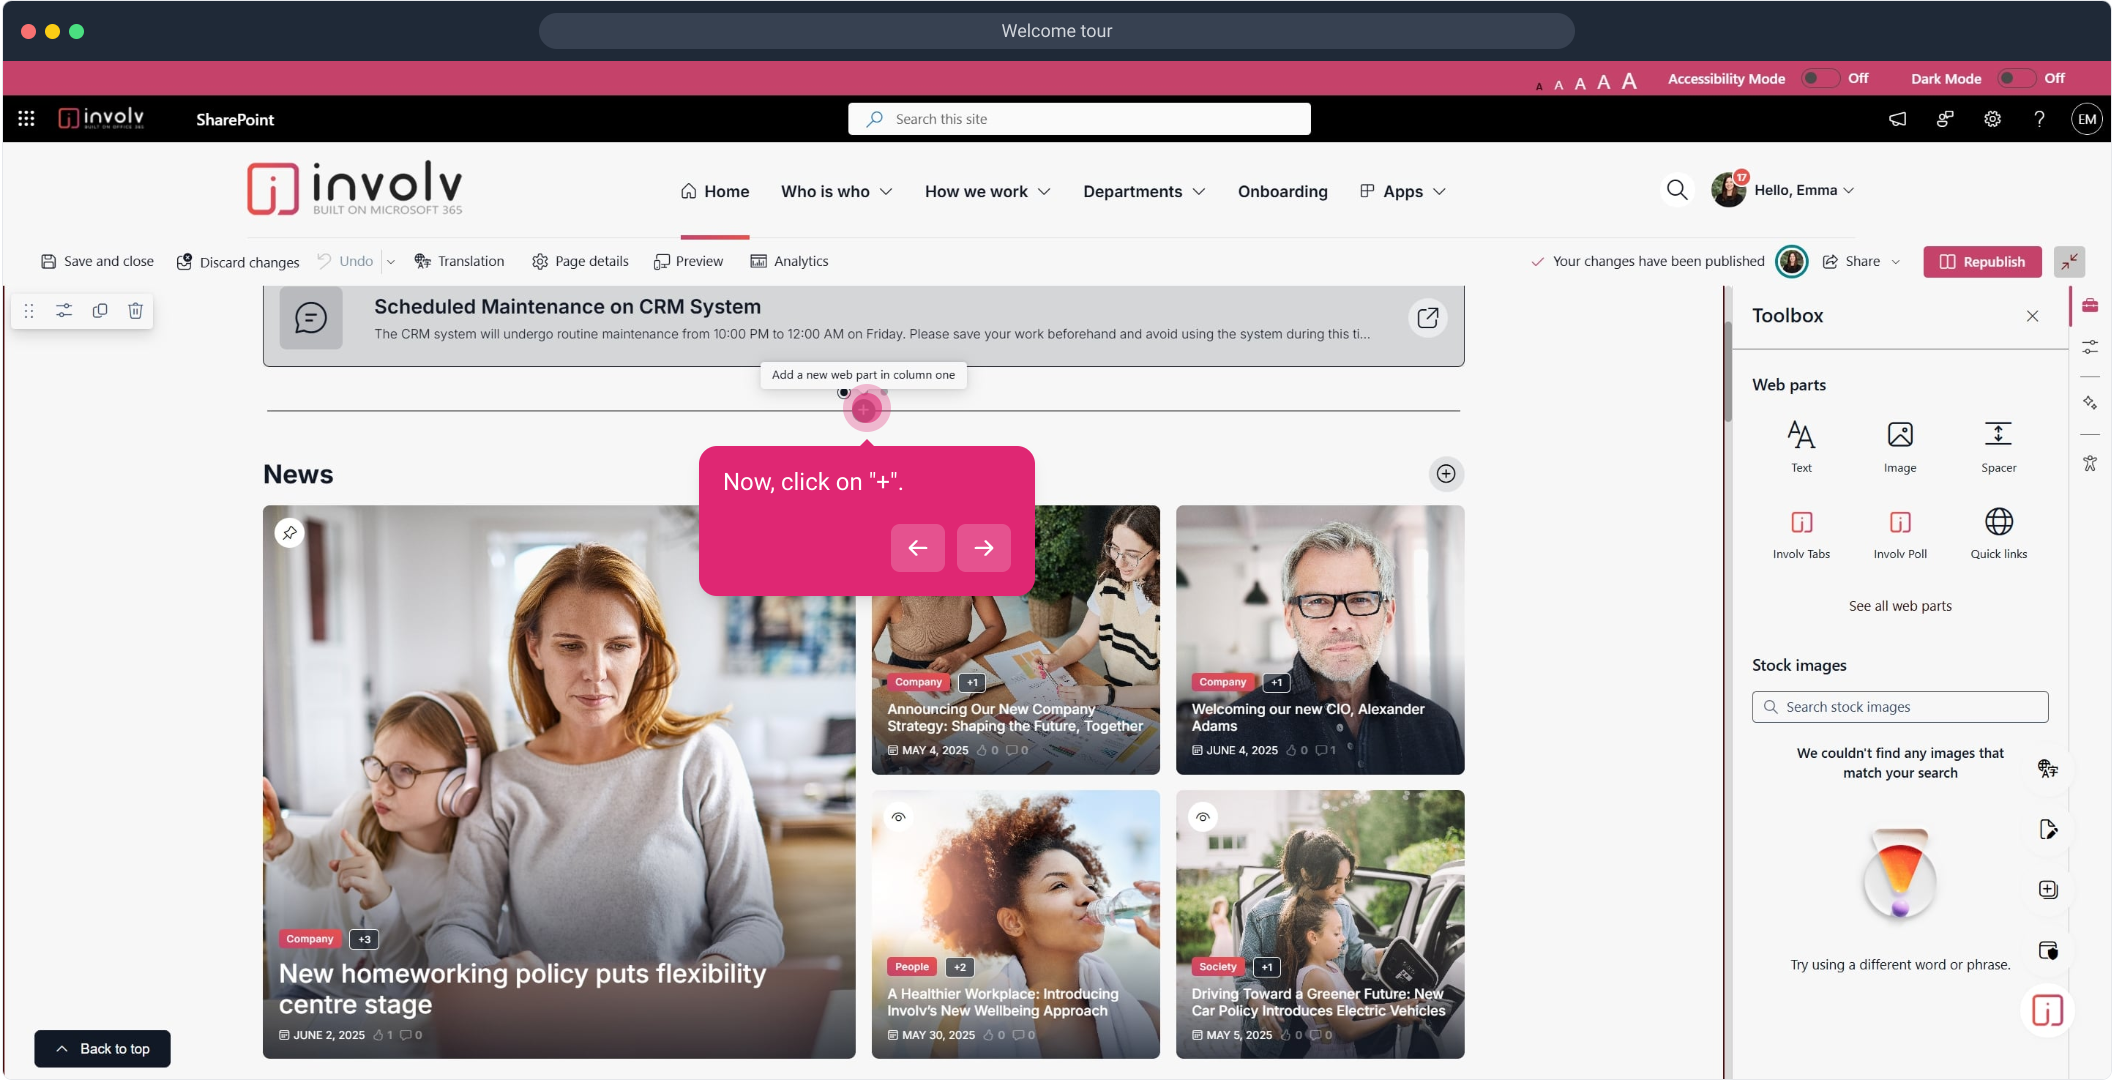
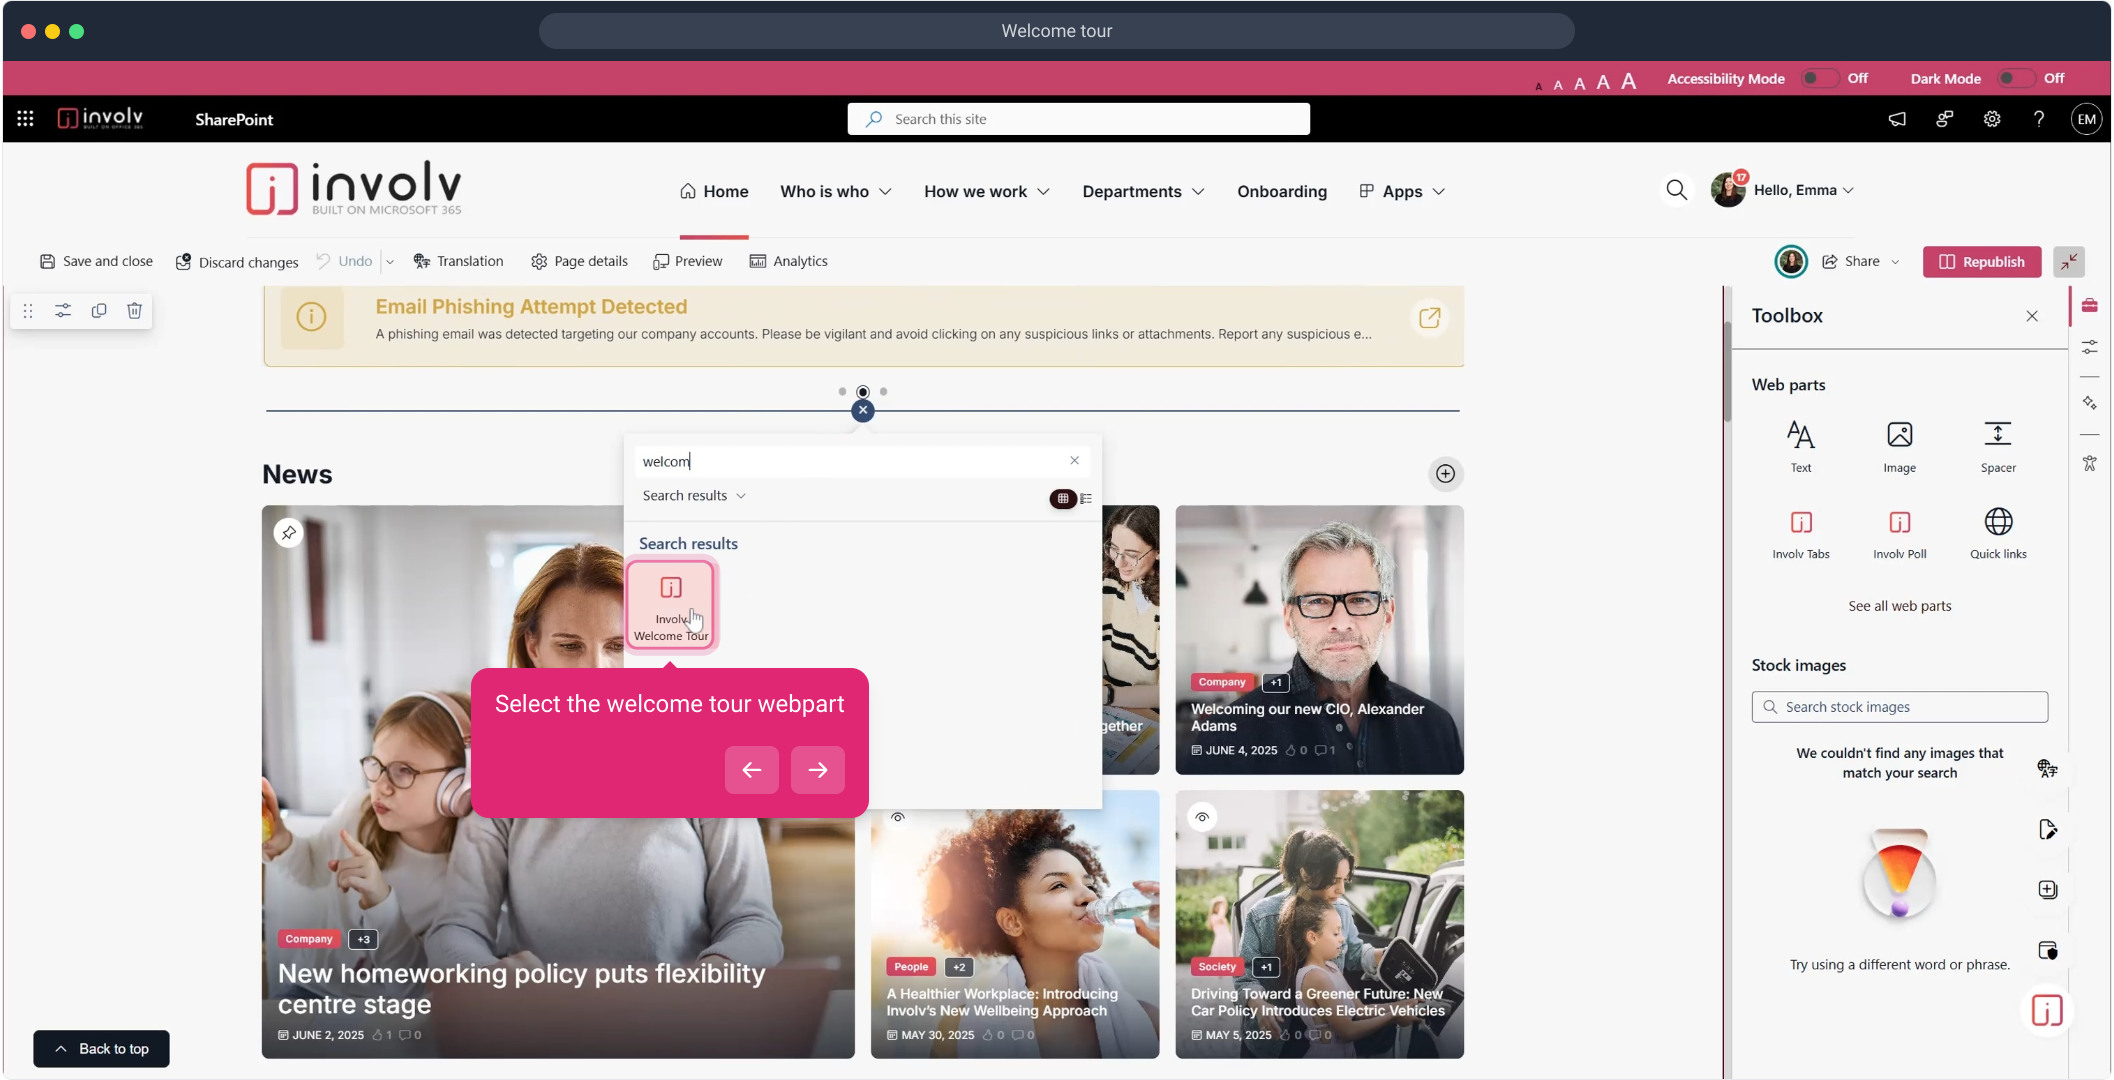
Add the Welcome Tour component
Click on the ➕ icon and select Welcome Tour from the available components. -
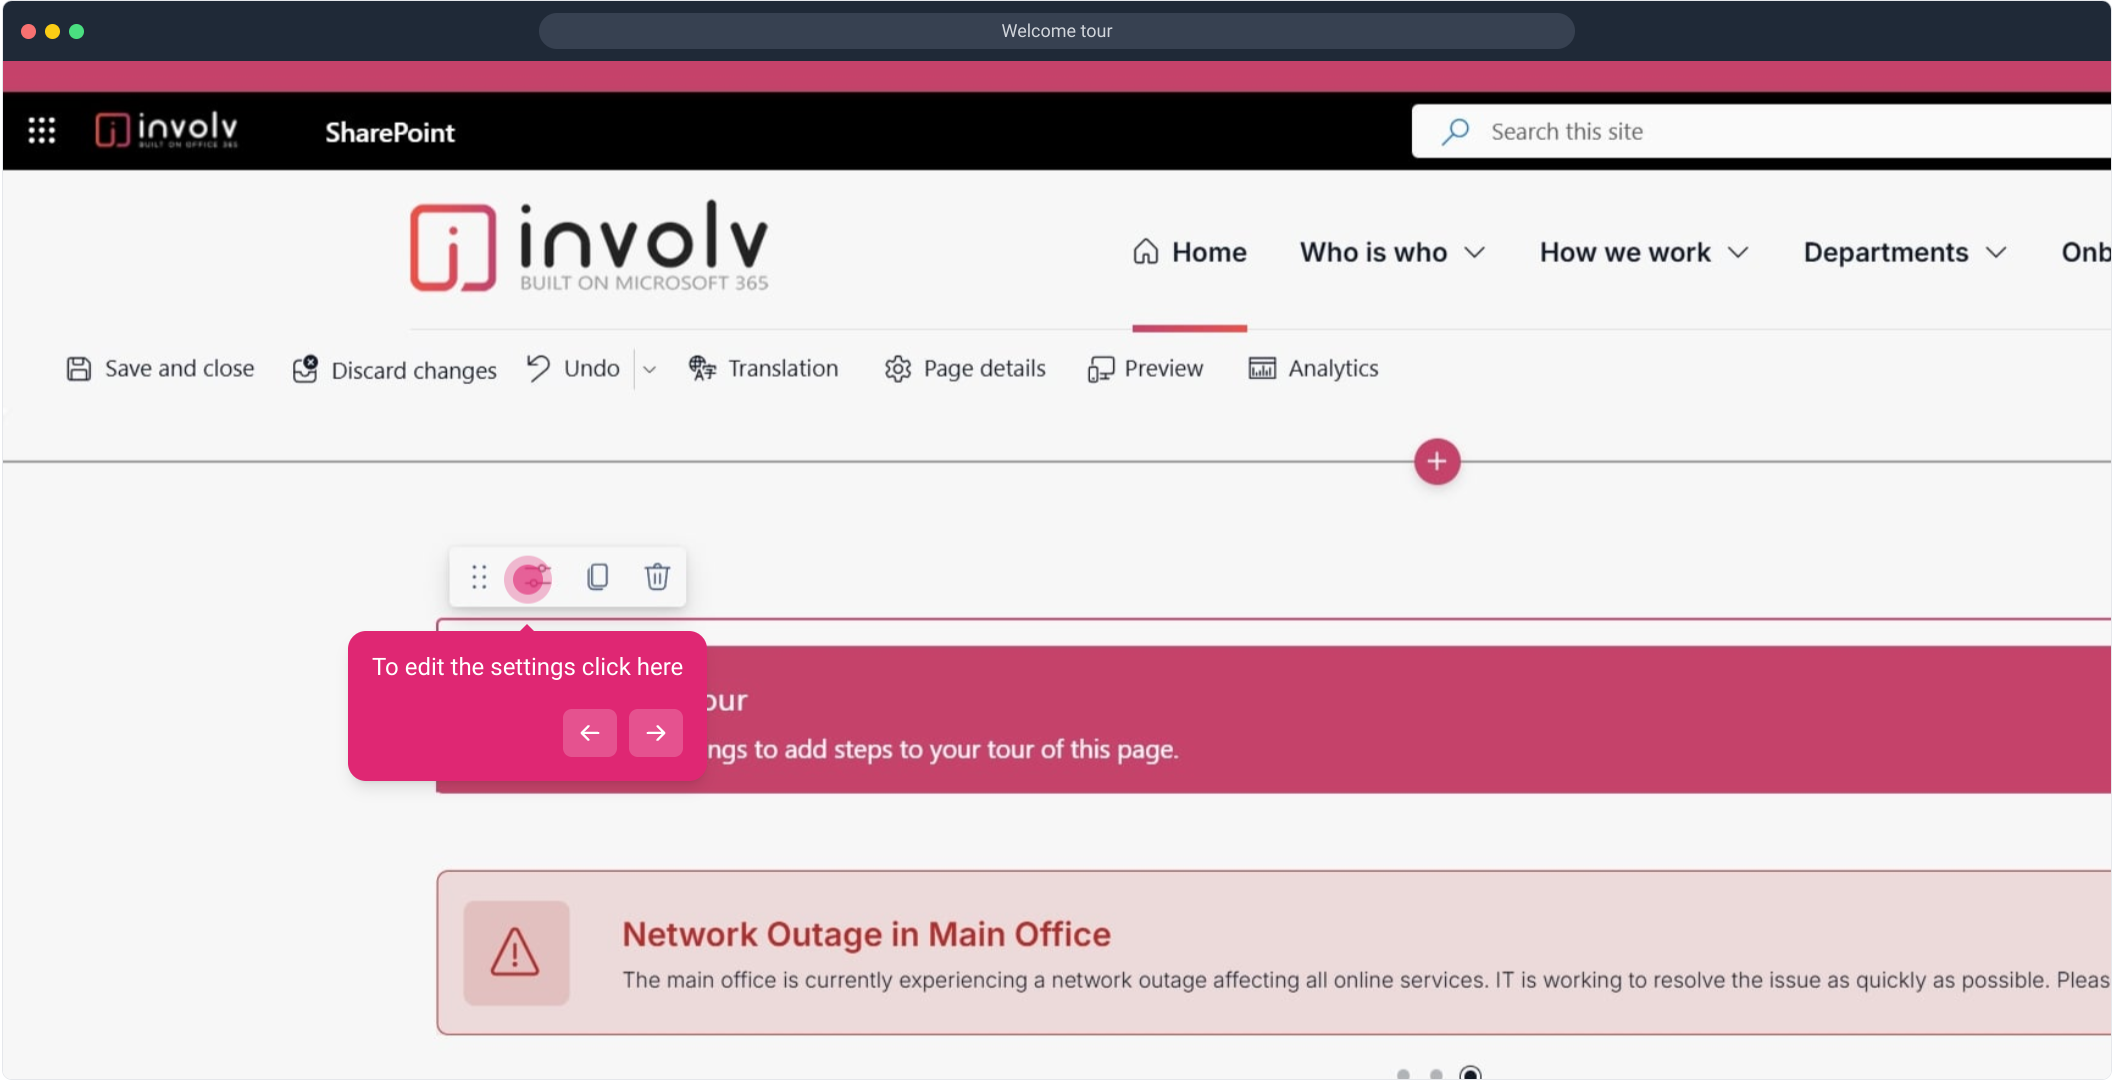
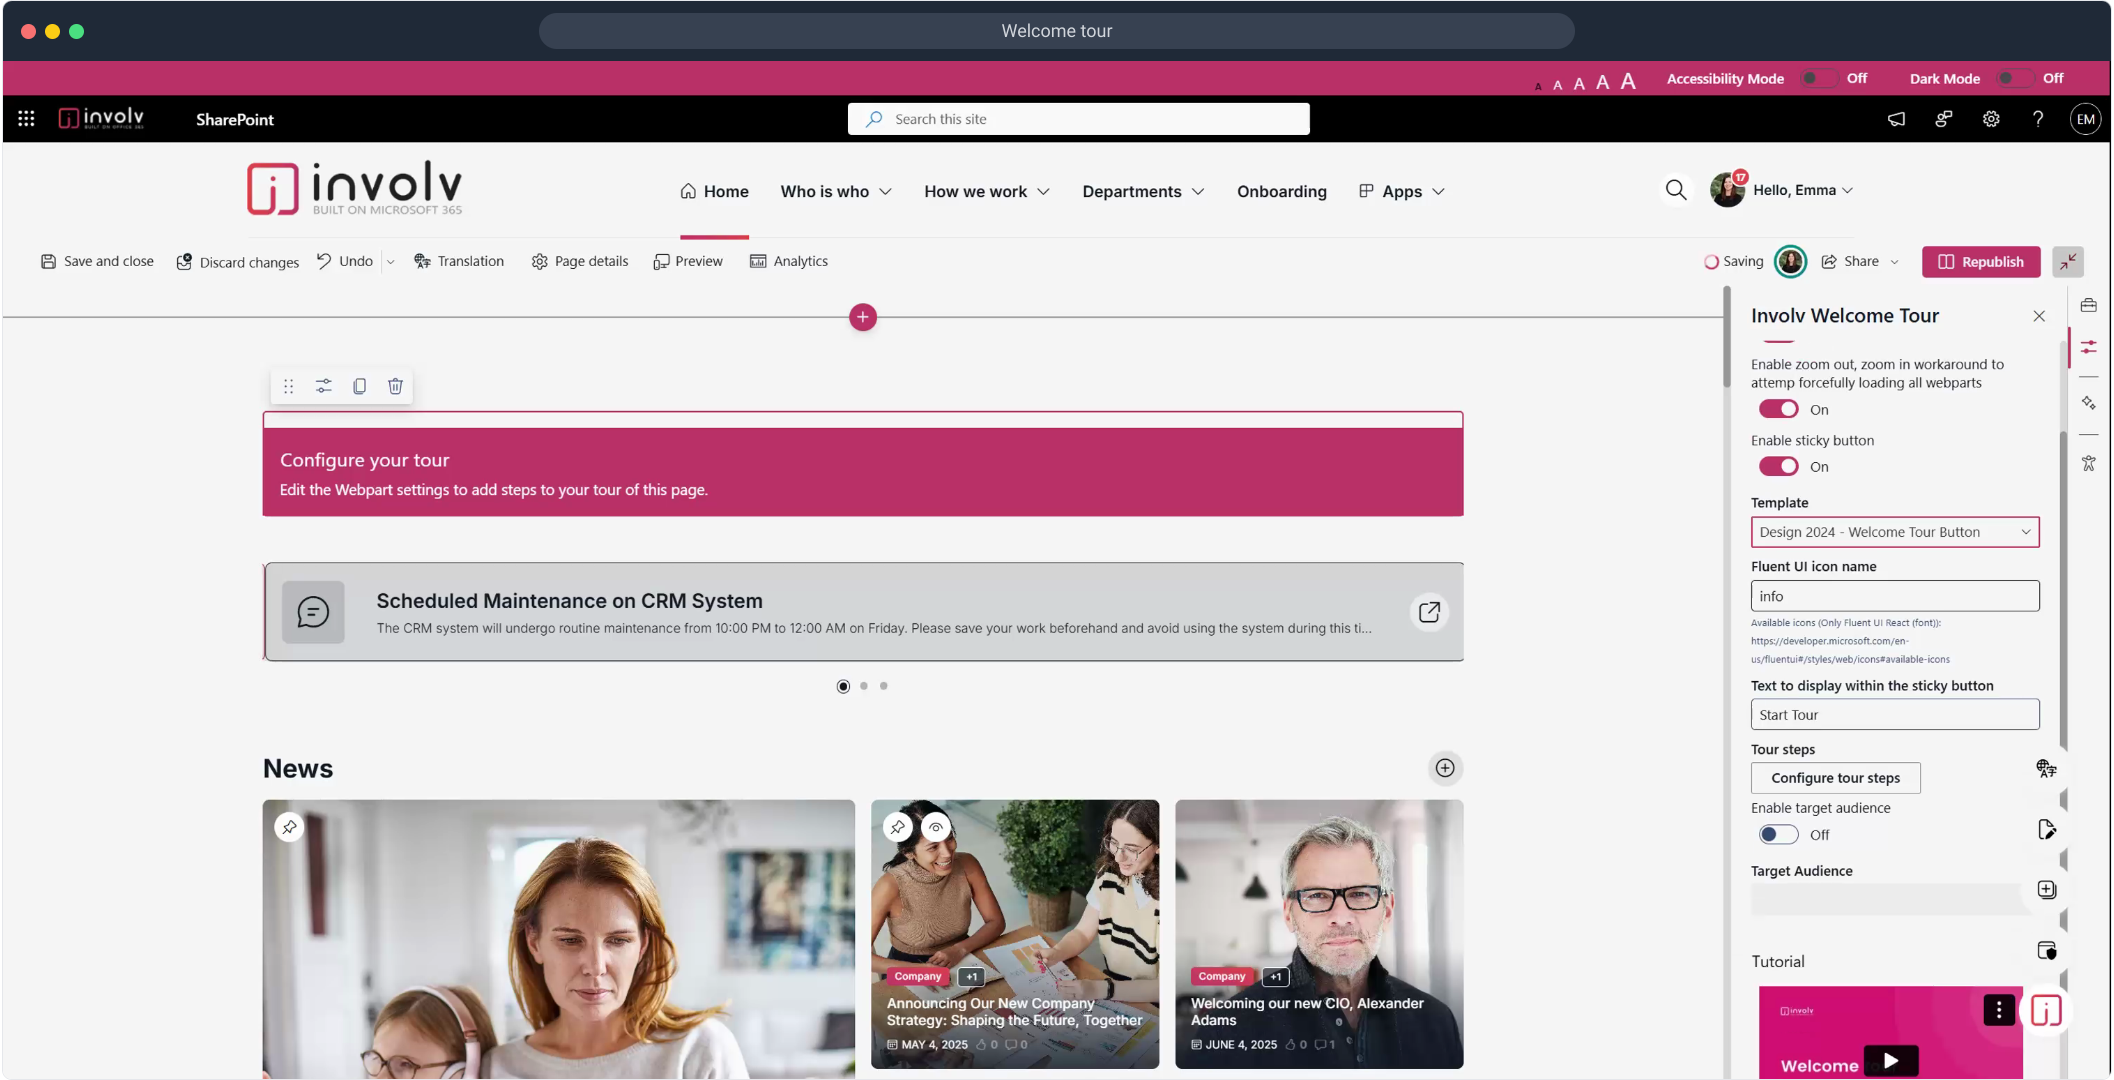
Edit settings
Open the settings panel for the Welcome Tour component. -
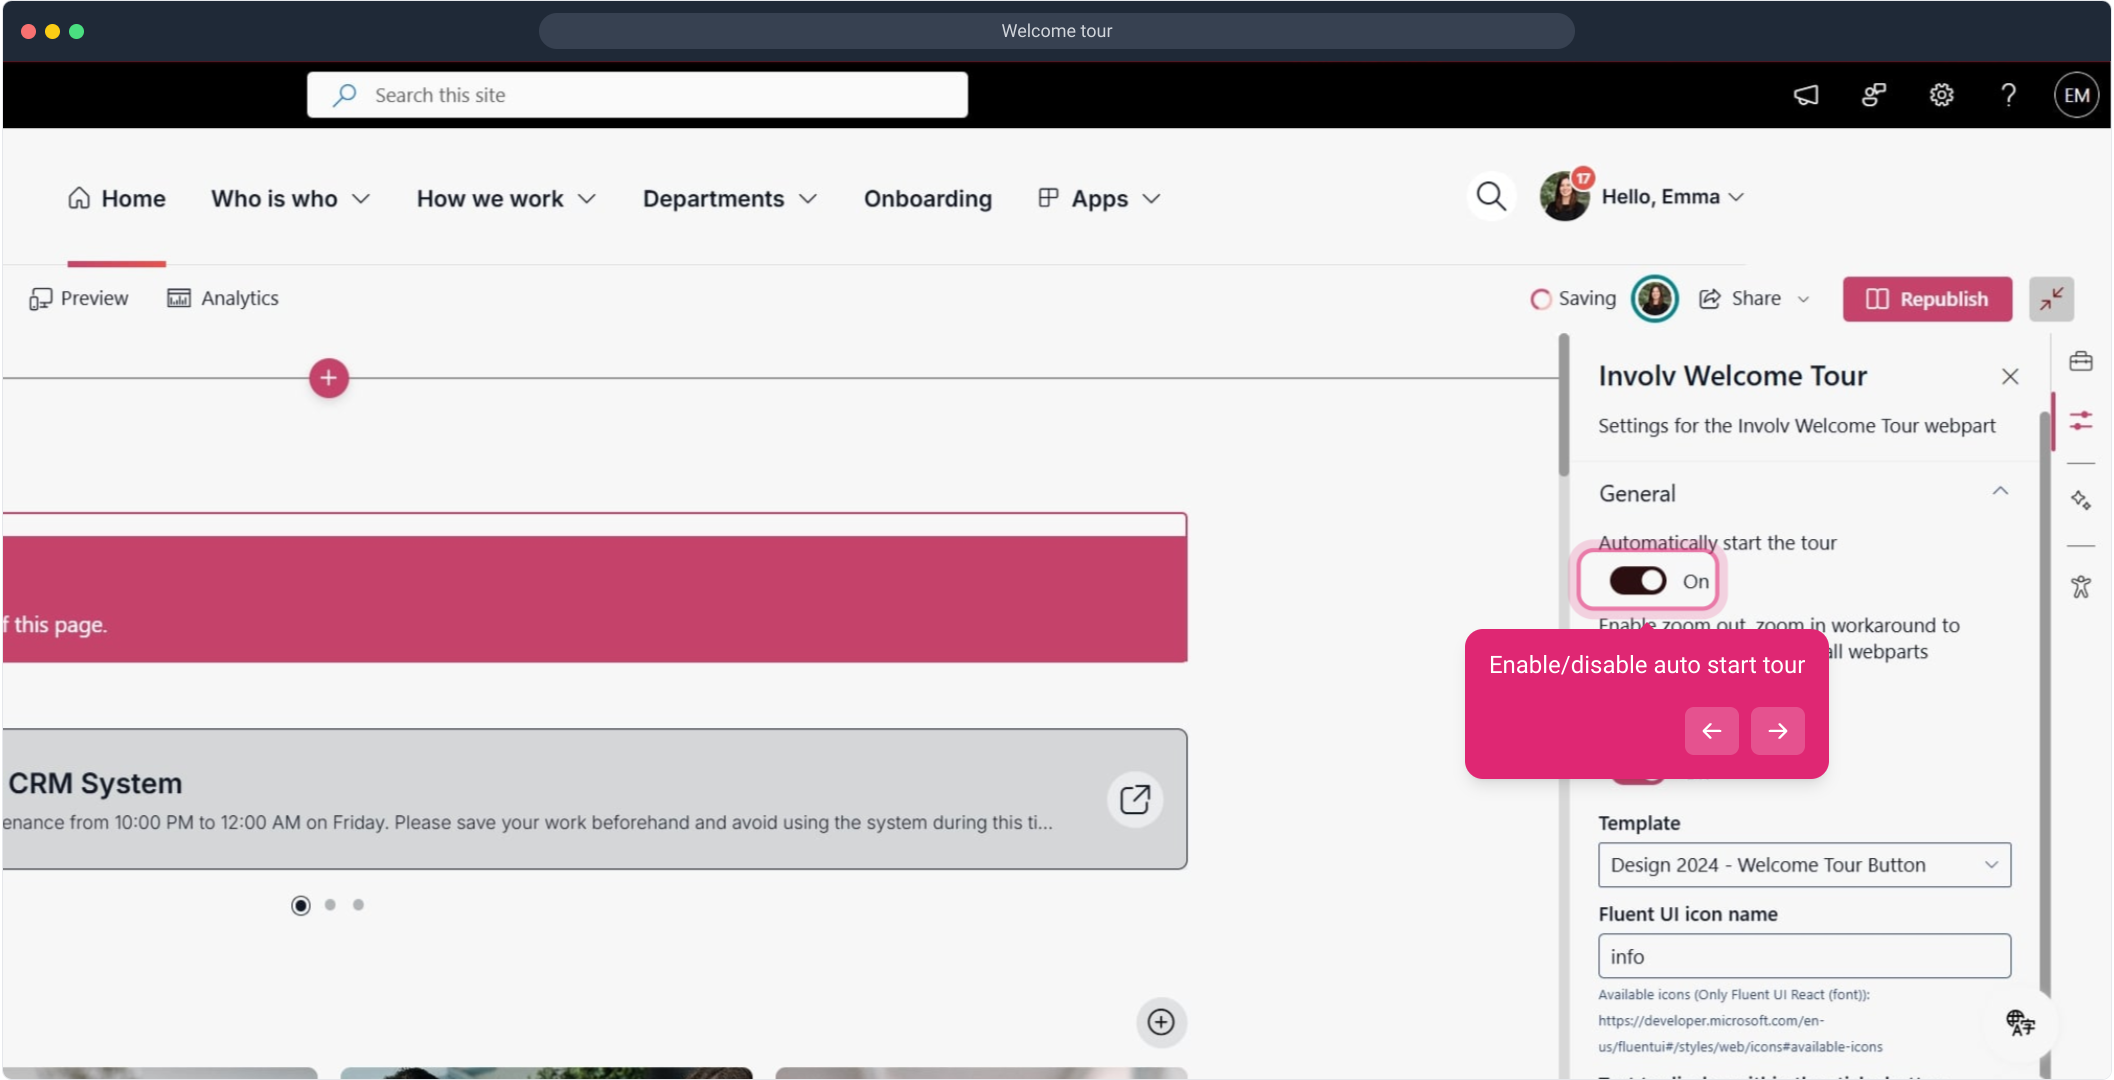
Enable or disable auto-start
Decide whether the tour should launch automatically when users land on the page. -
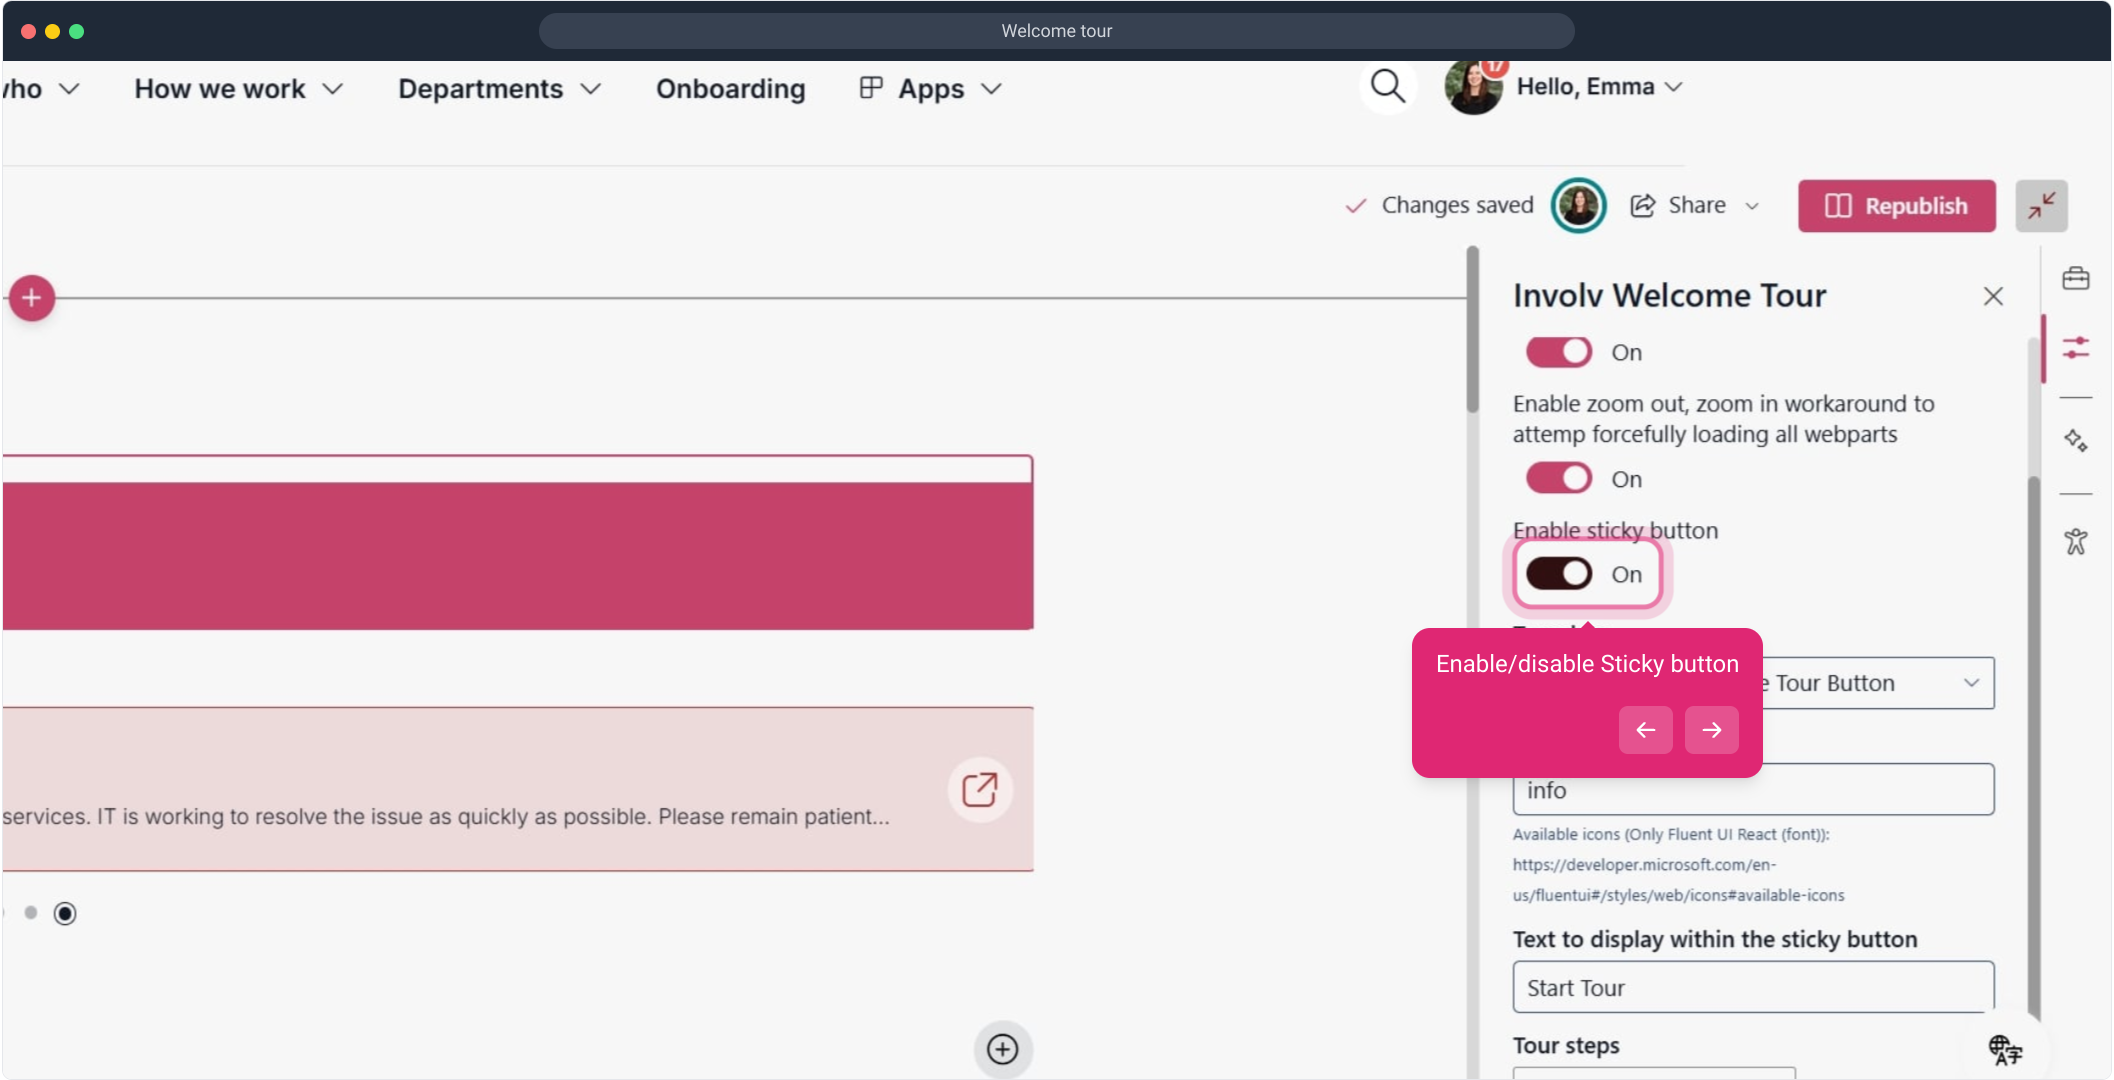
Enable or disable sticky button
Choose if a persistent “Start Tour” button should remain on screen. -
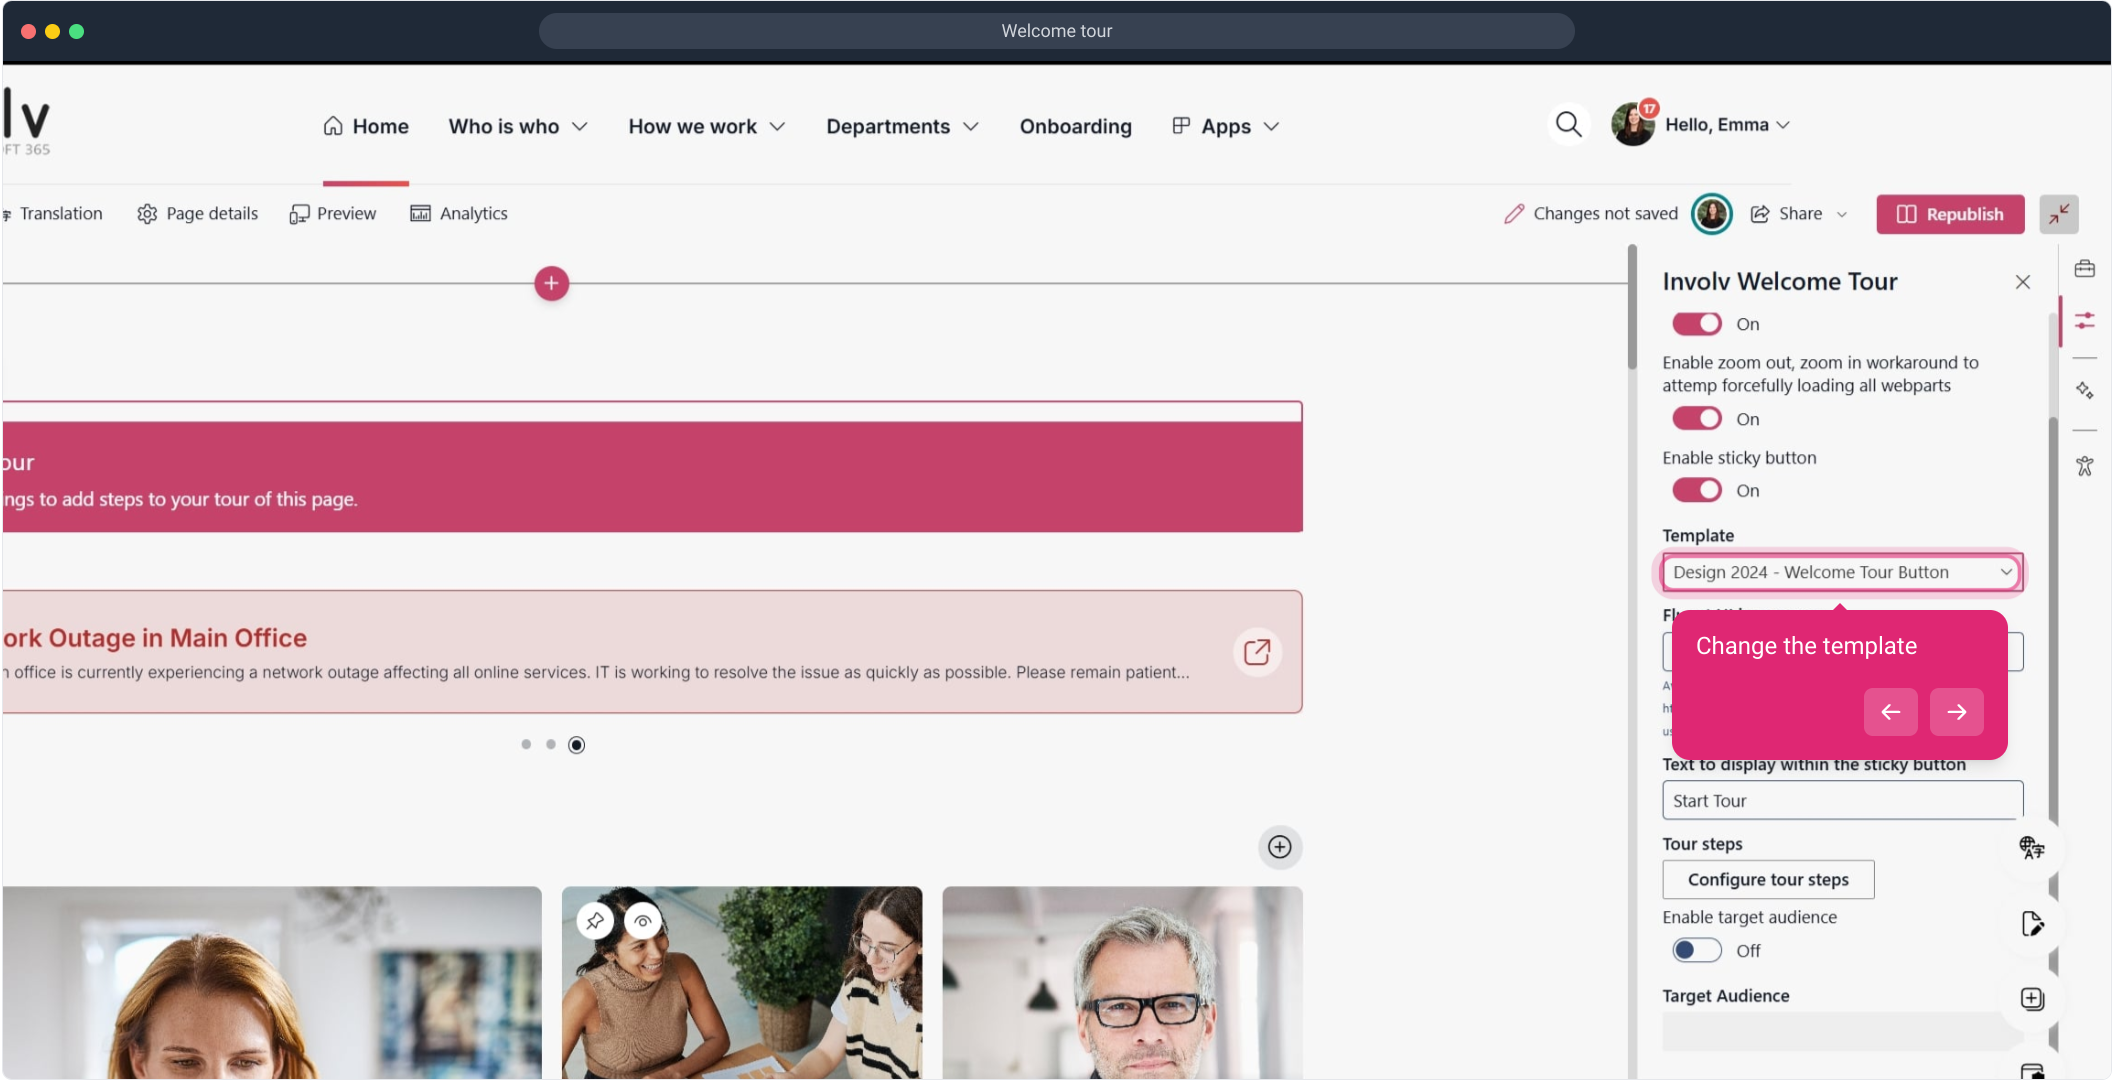
Change the template
Select a visual layout for the tour pop-ups. -
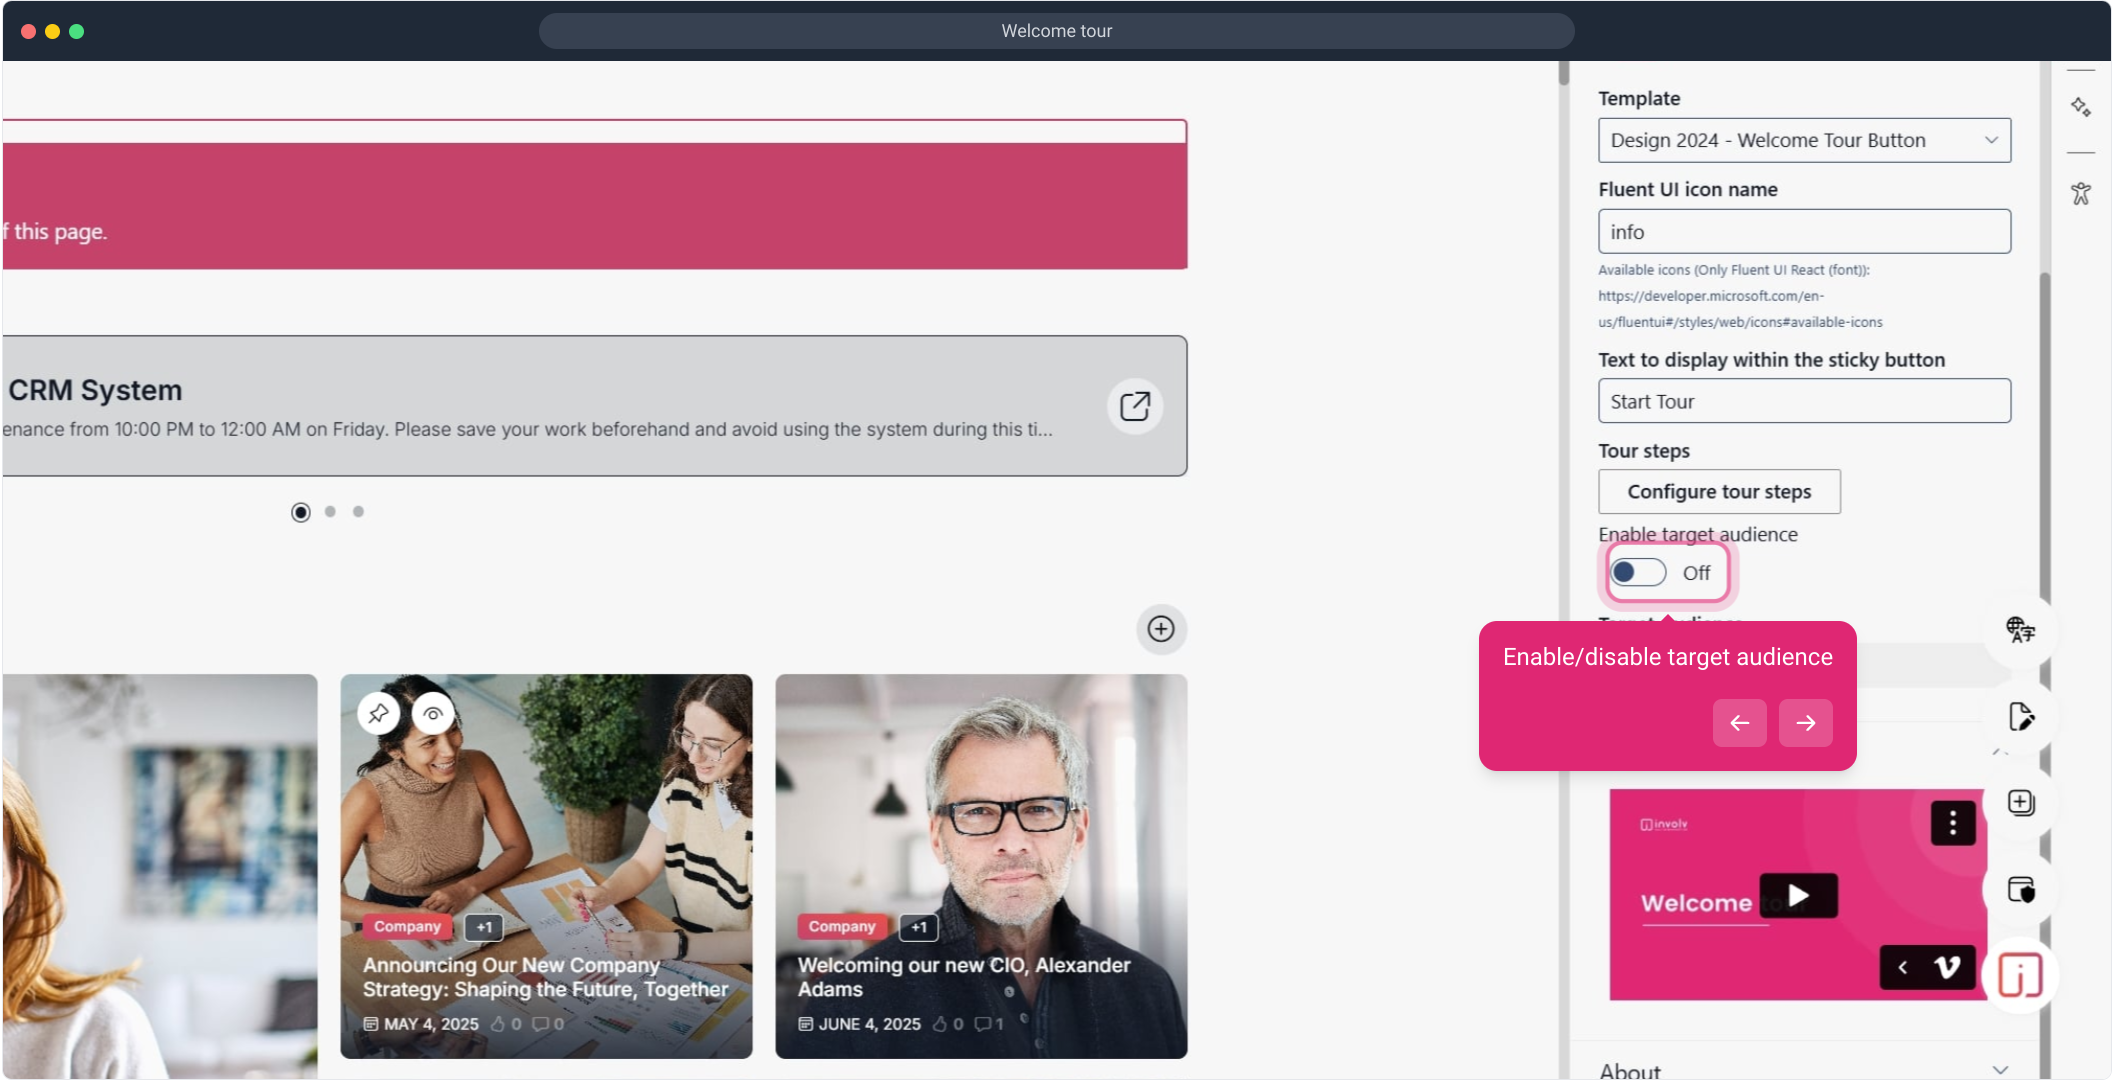
Enable or disable audience targeting (optional)
Choose whether the tour should only be visible to specific groups or roles. -
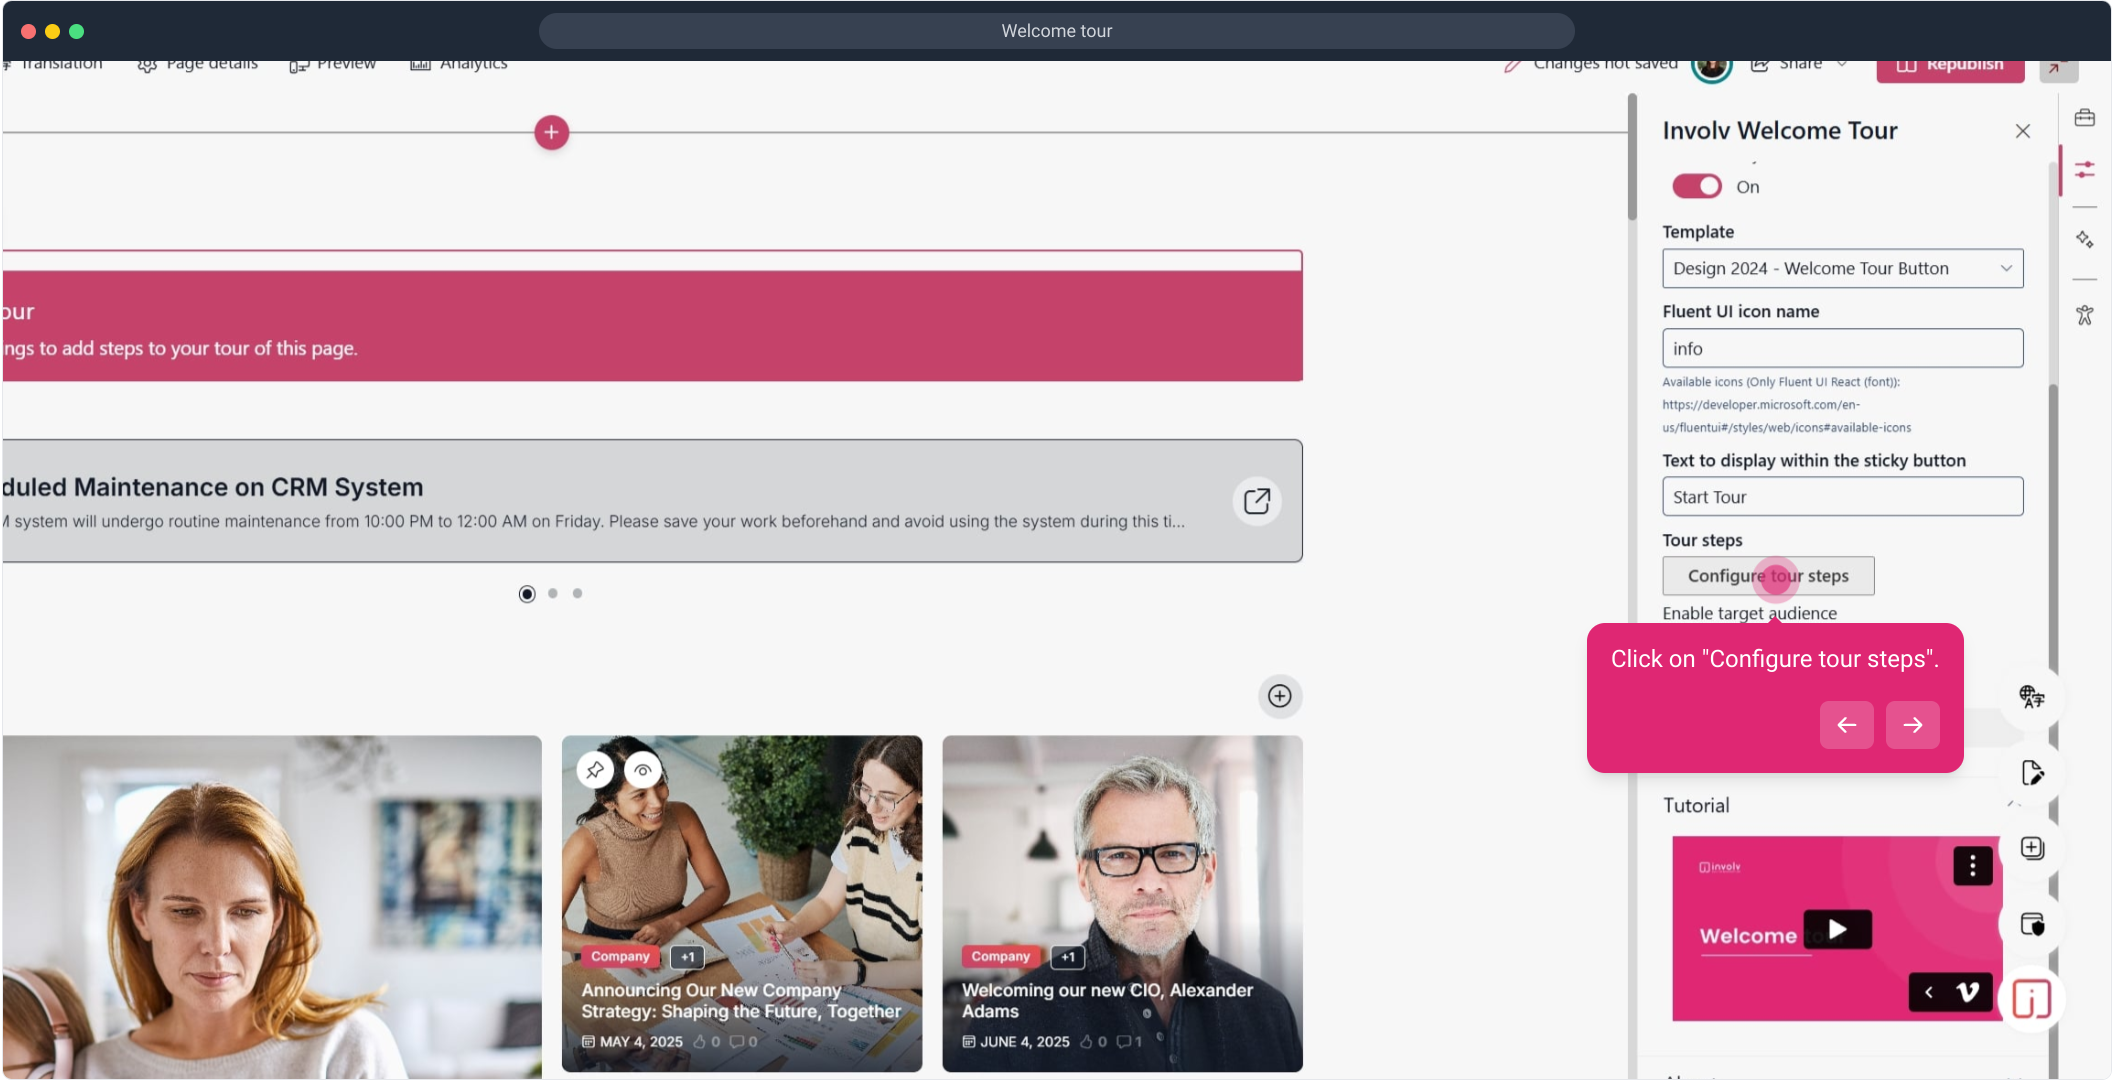
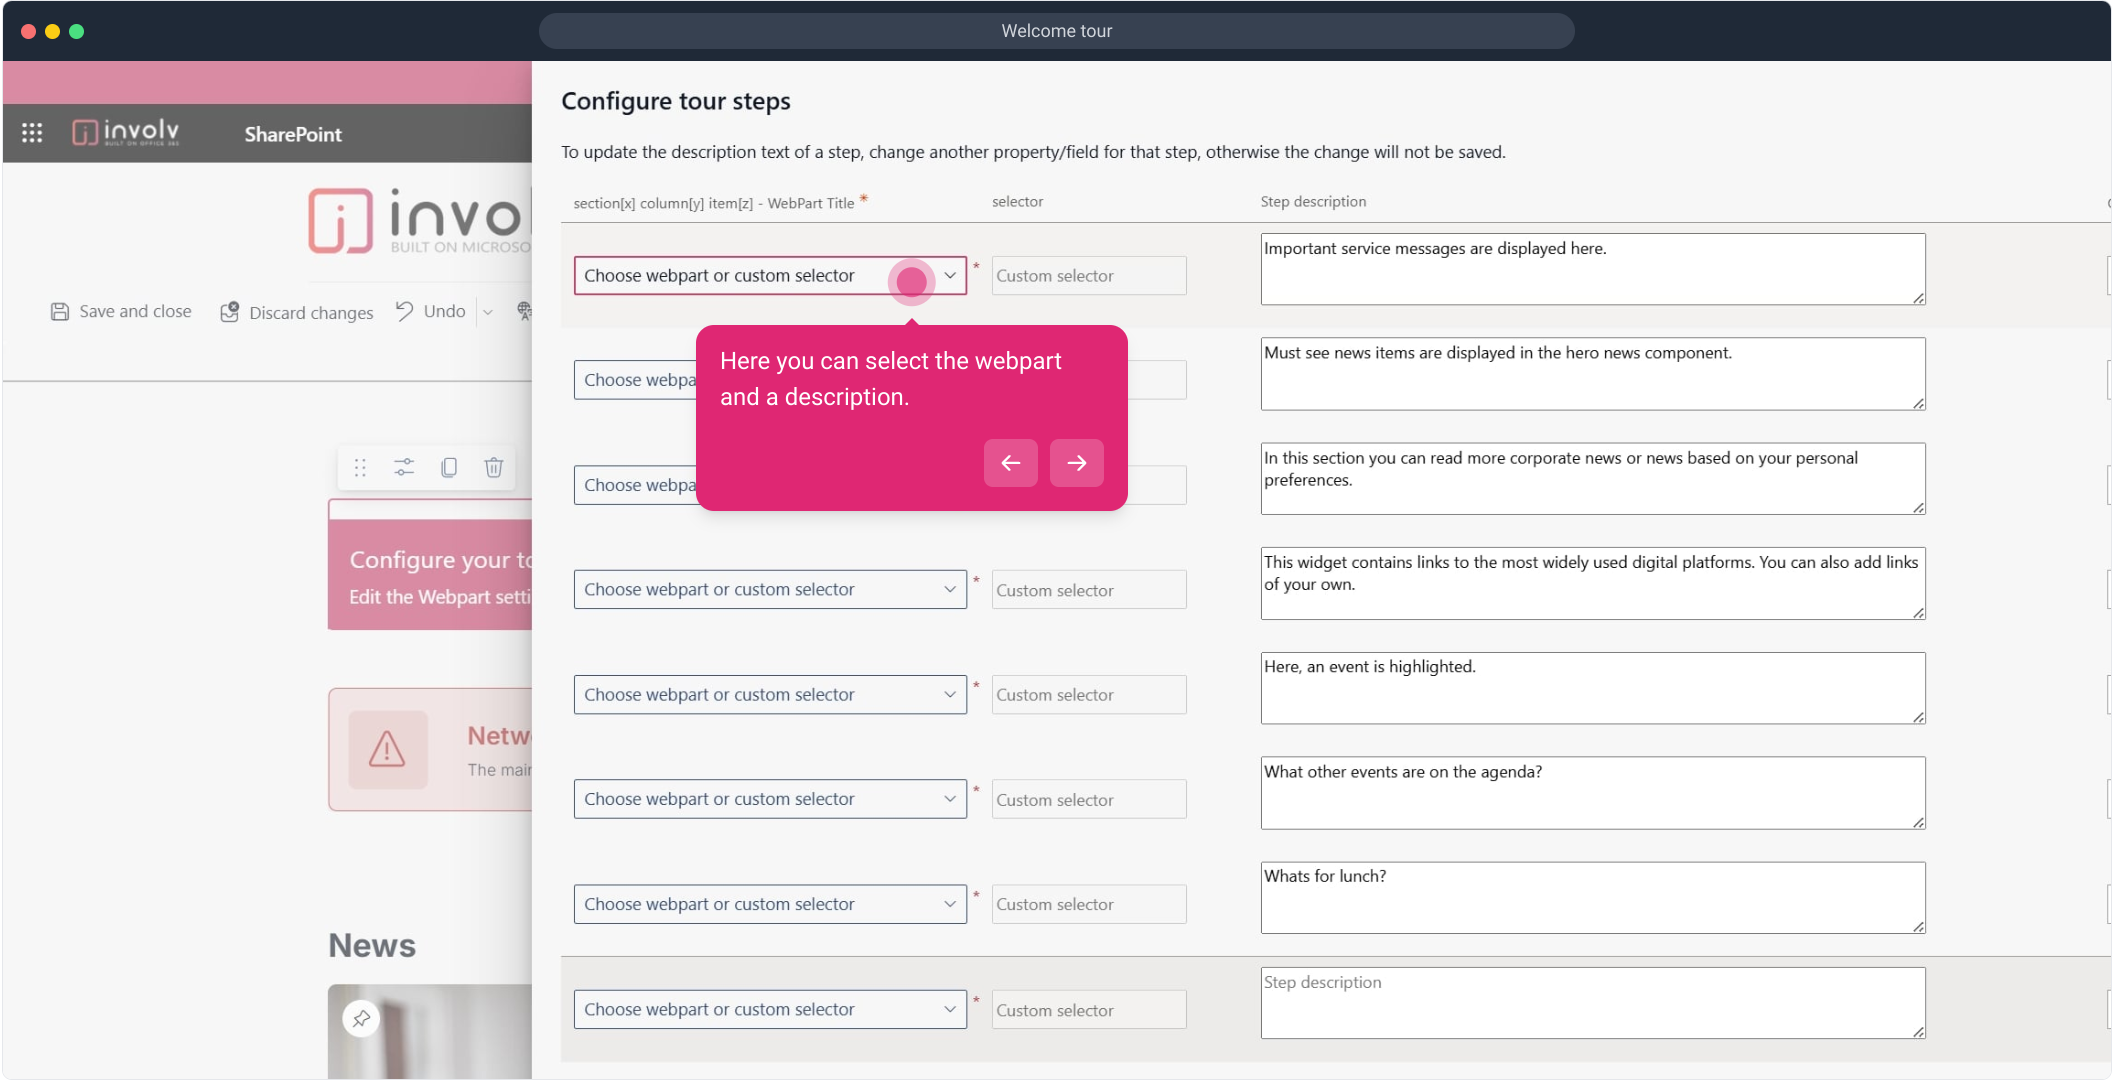
Configure tour steps
Click Configure Tour Steps to begin creating the walkthrough. -
Set tour step details
For each step, choose the targeted web part and write a helpful description to guide the user. -
Republish the page
Save and publish your changes to activate the tour. -
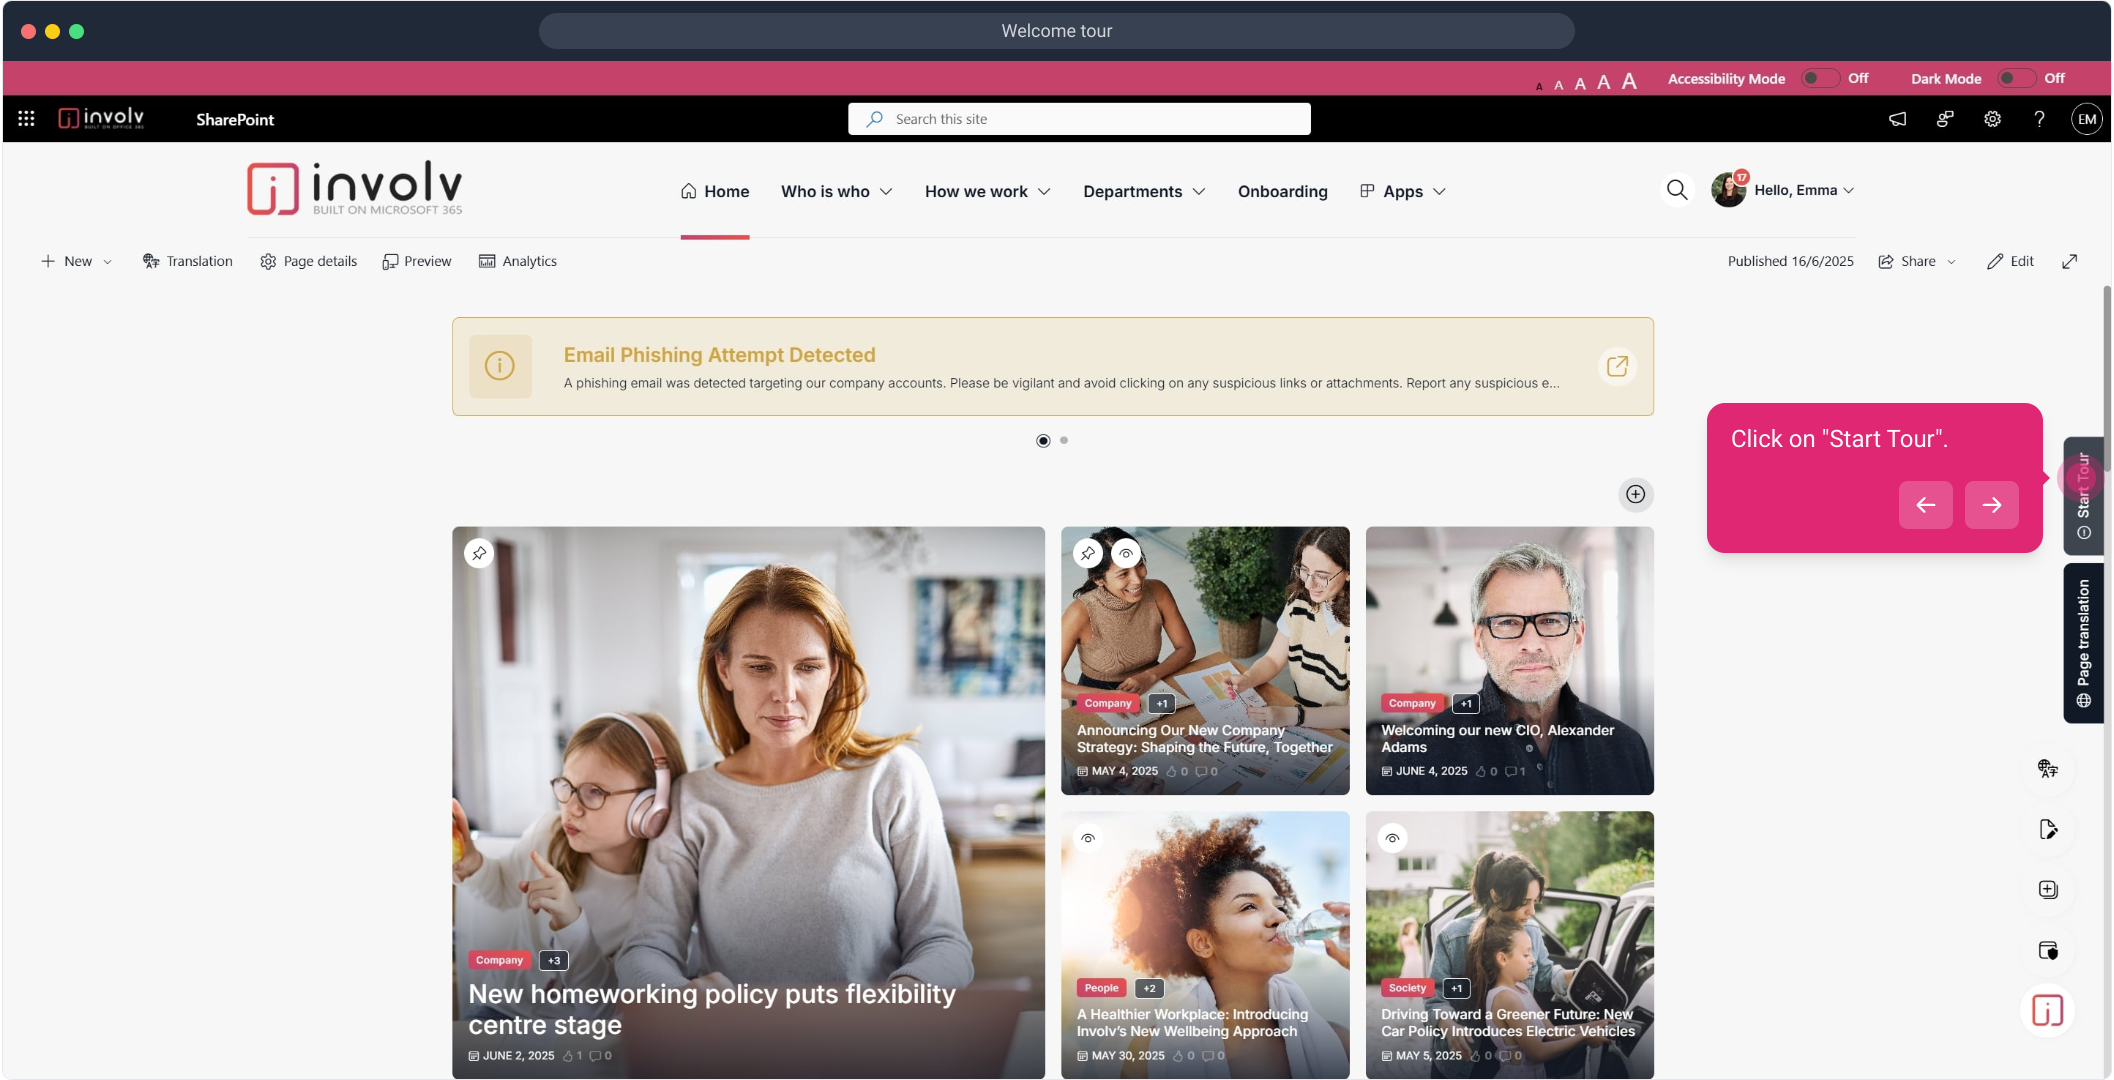
Start the tour
Click Start Tour to test the experience. -
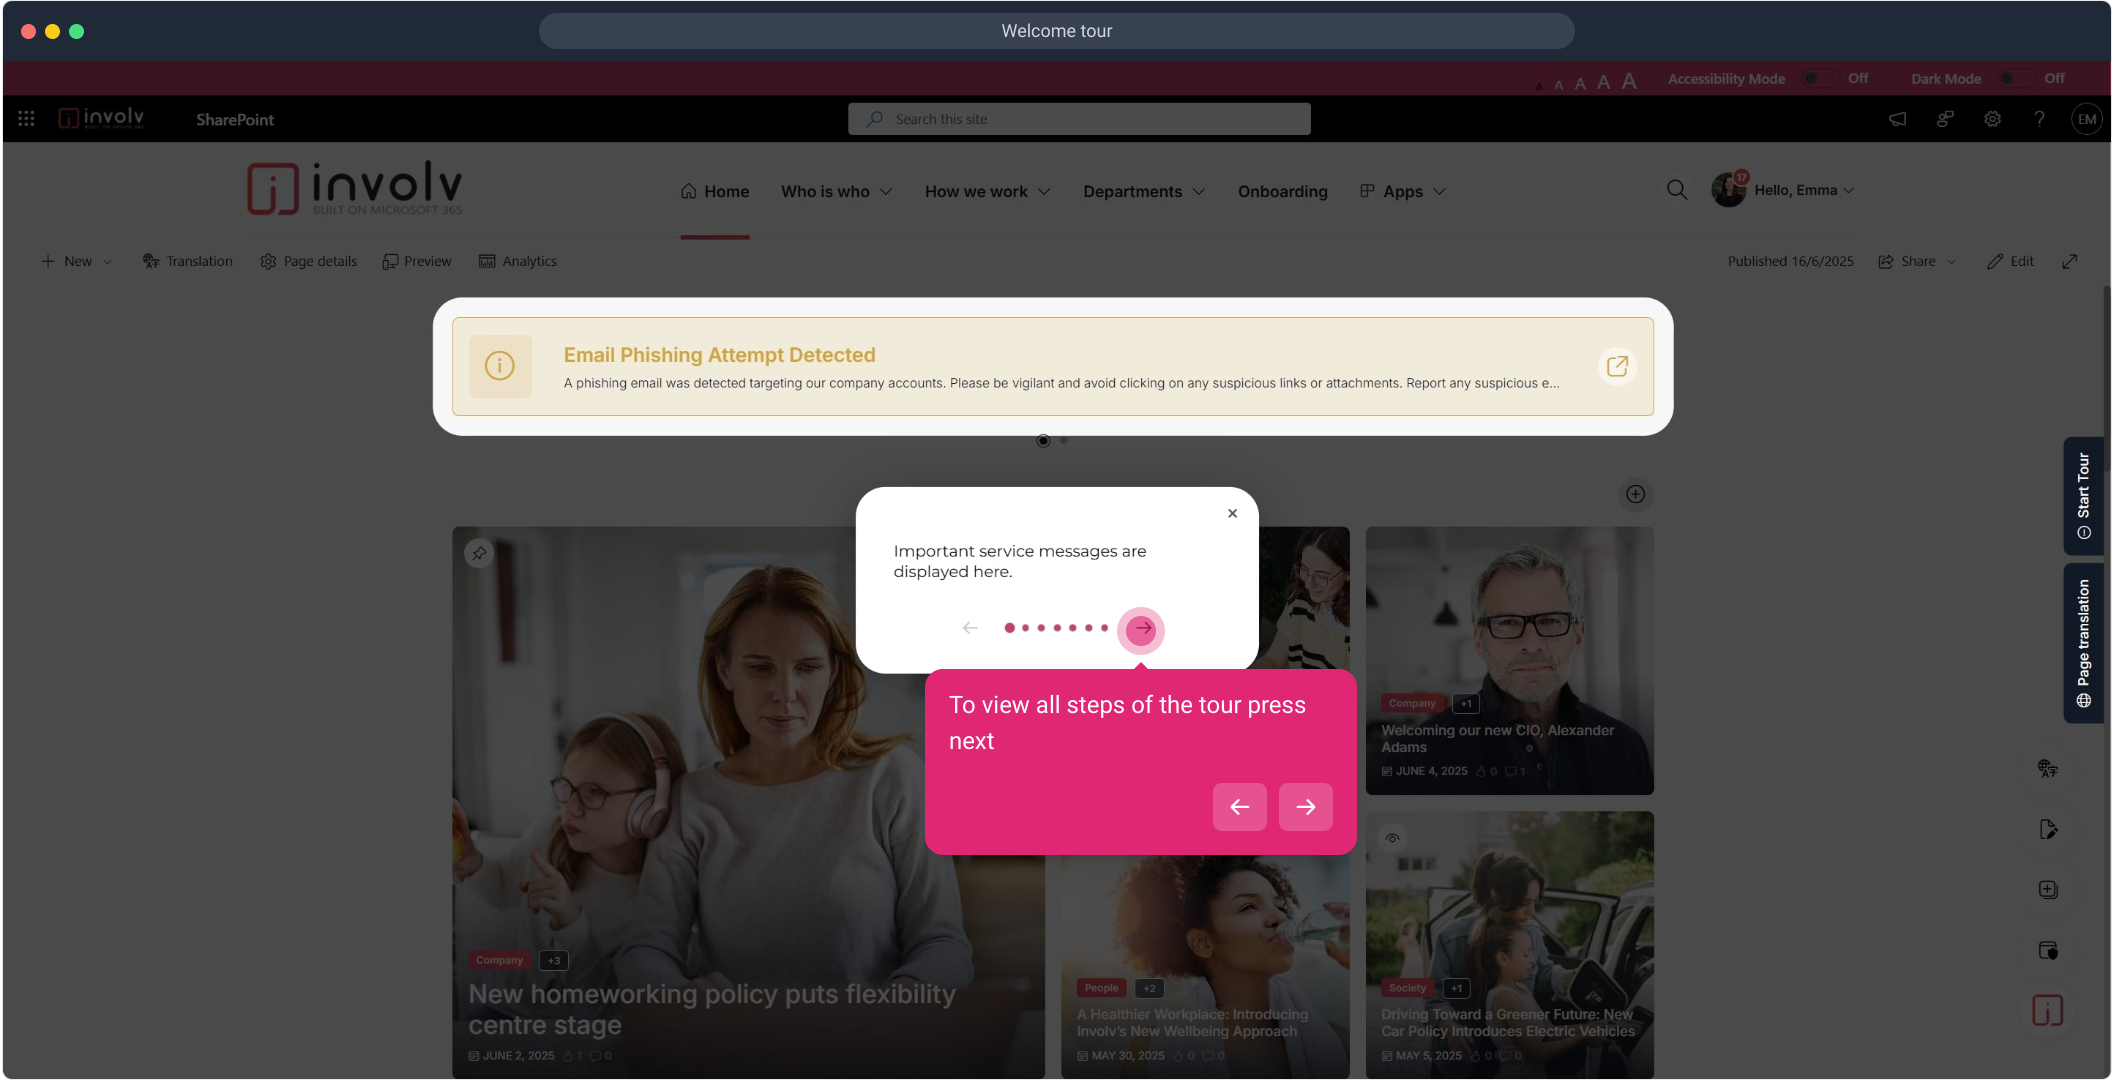
Navigate through the tour
Users can click Next to move through each step.
💡 Tip: Use this feature to introduce users to key intranet features, such as the News feed, Quick Links, or MyTeams, especially after a launch or redesign.
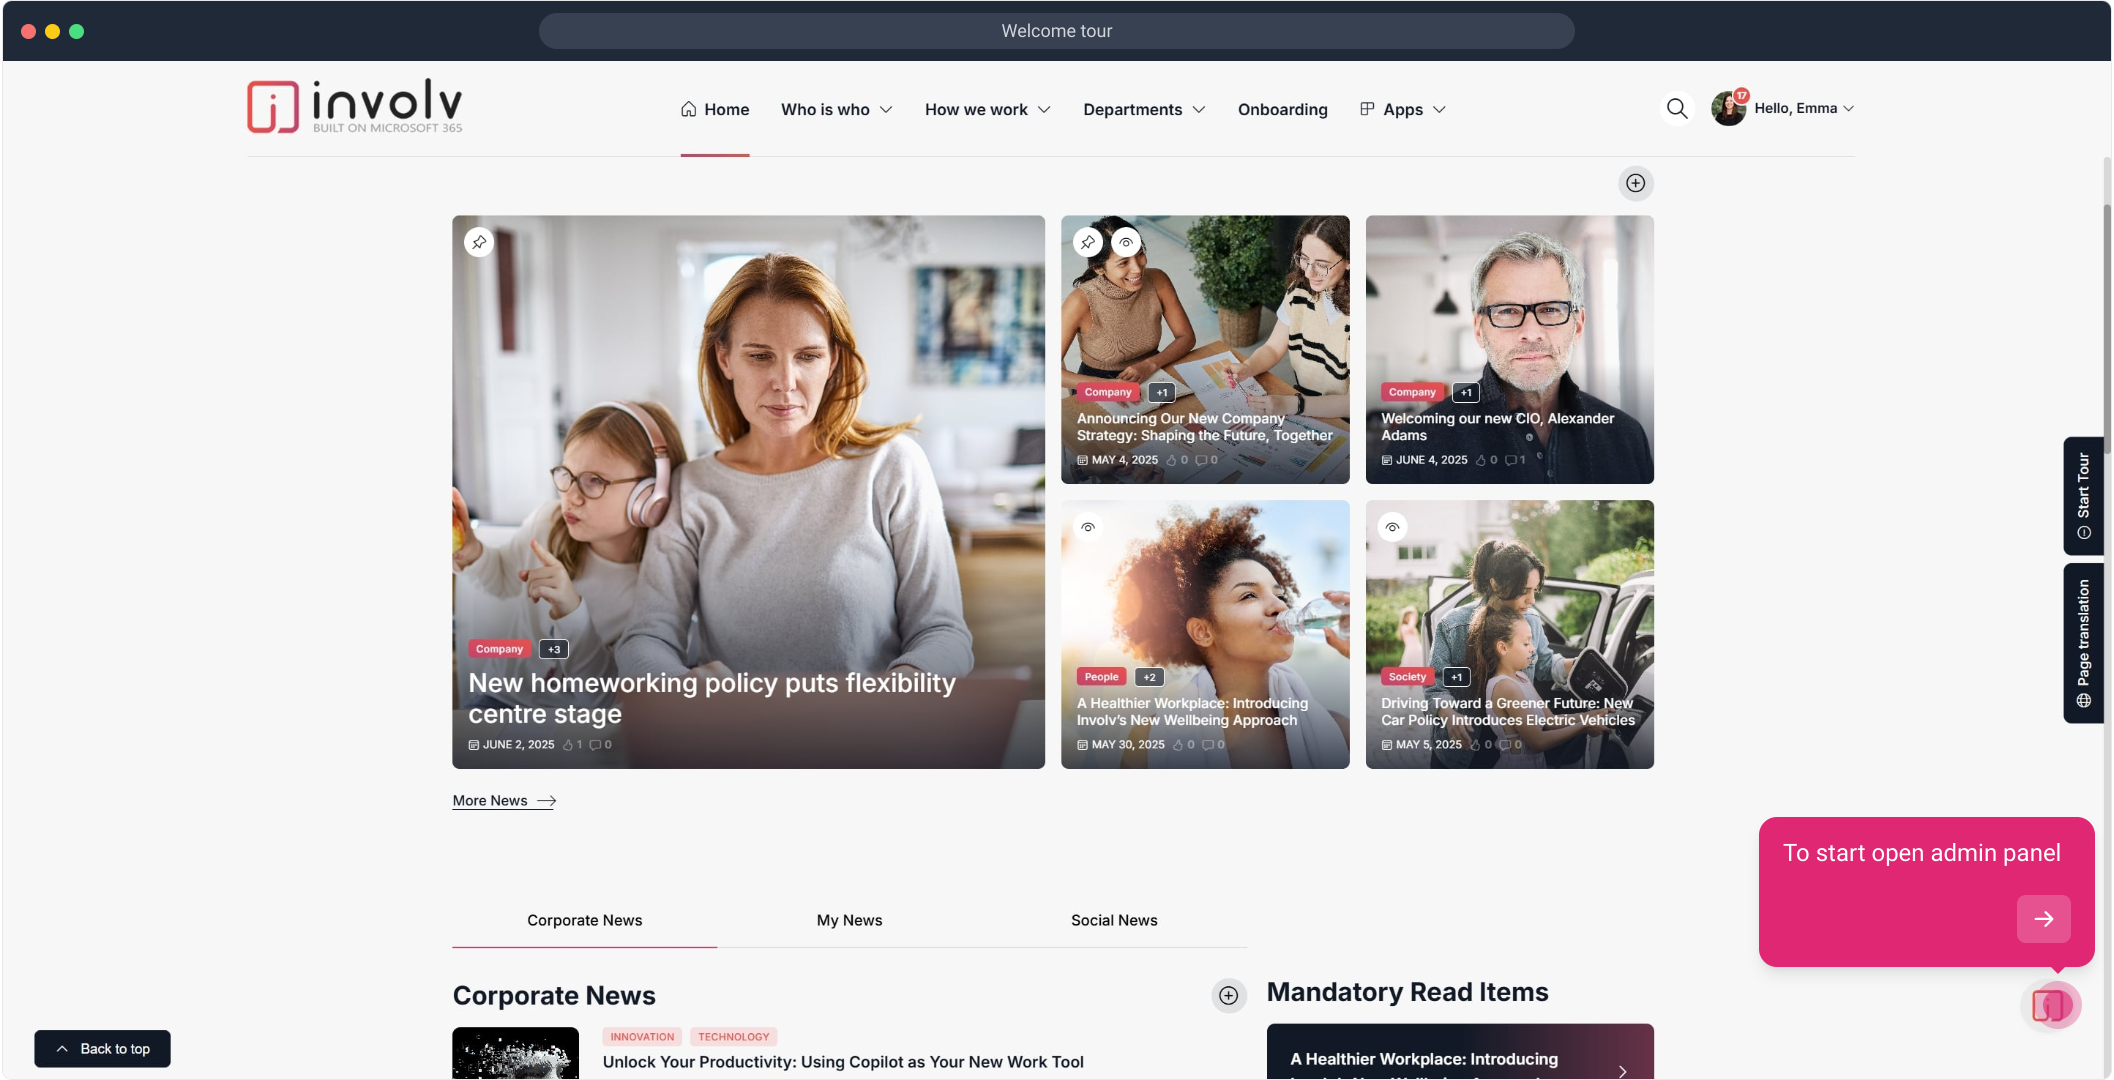
1. To start open admin panel
2. Click on "edit".
3. Now, click on "+".
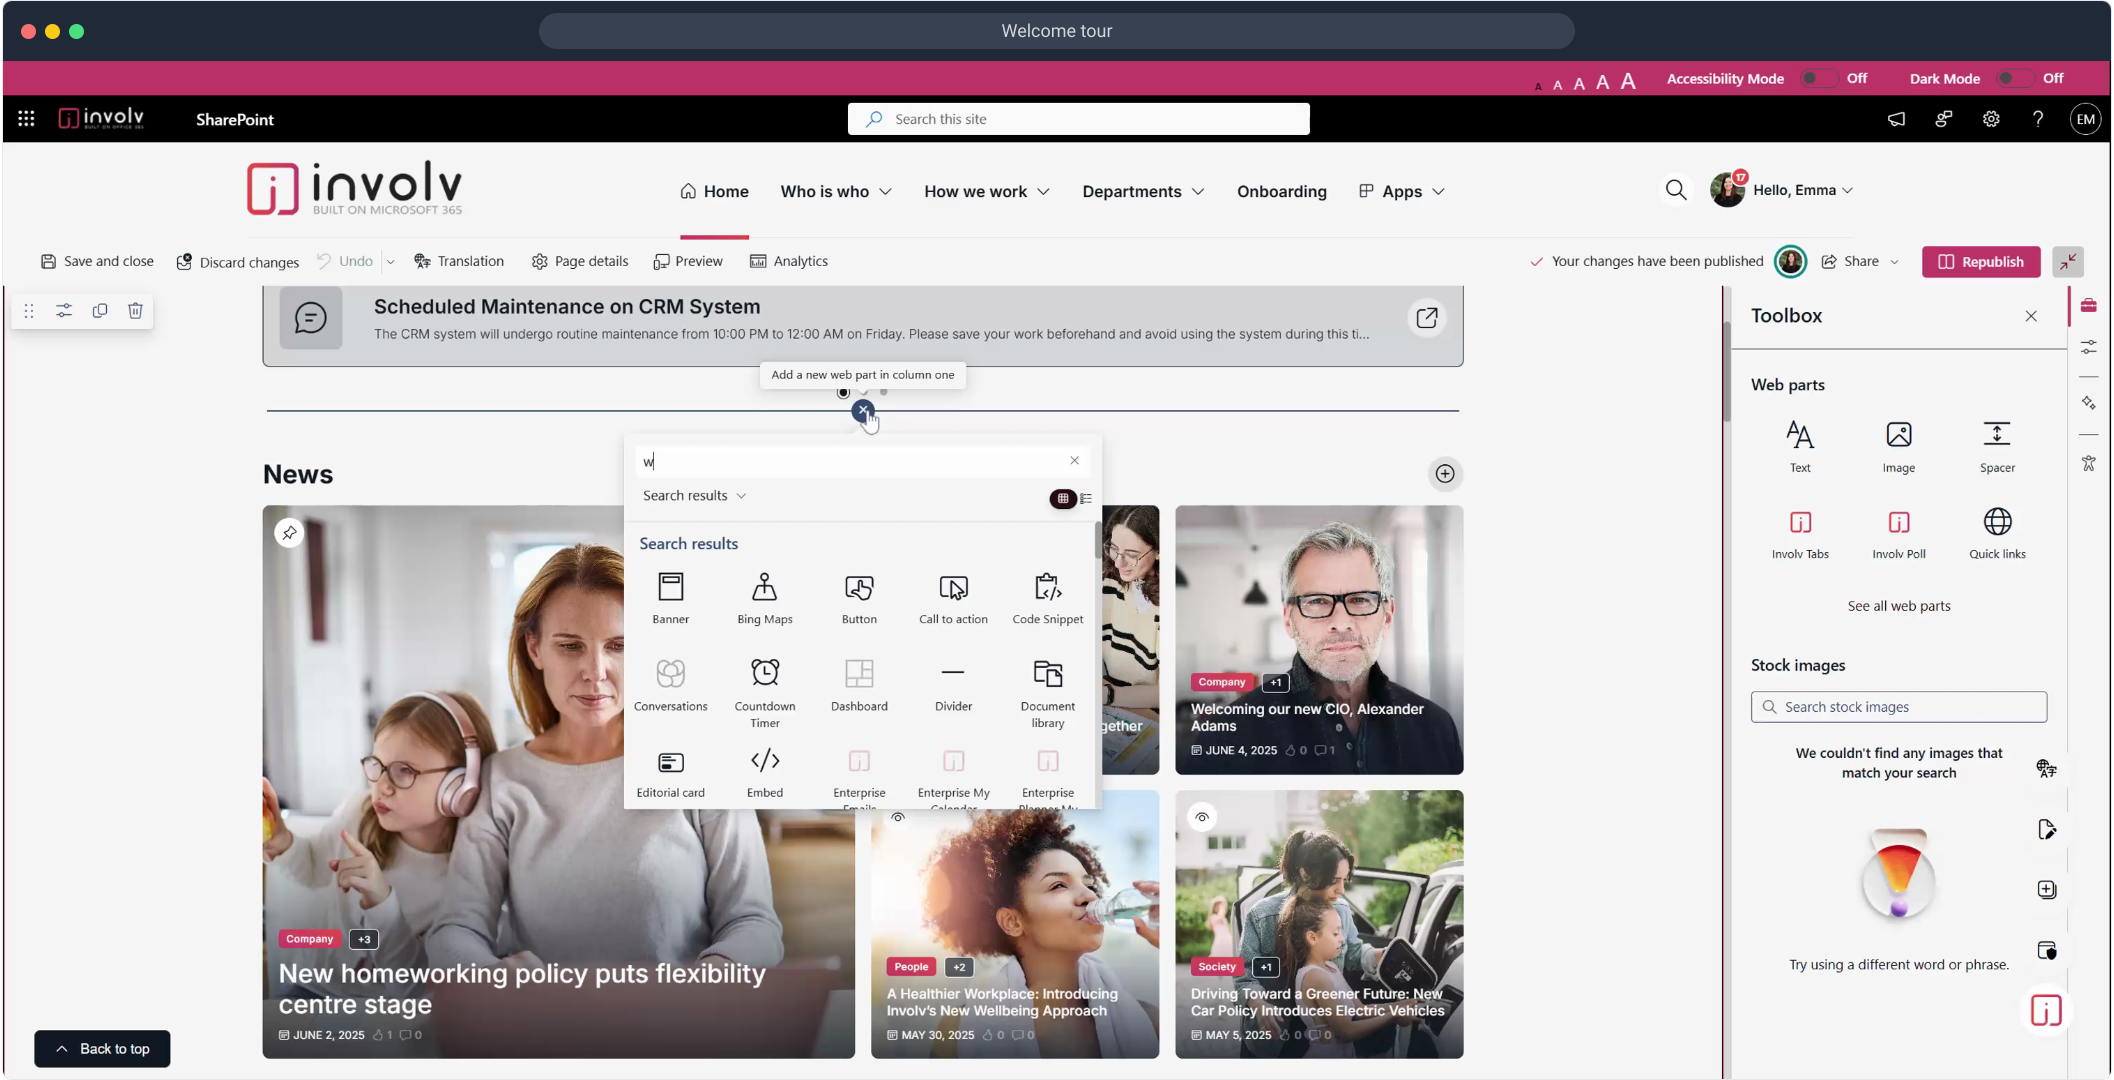
5. Select the welcome tour webpart
6. To edit the settings click here
7. Enable/disable auto start tour
8. Enable/disable Sticky button
9. Change the template
11. Enable/disable target audience
12. Click on "Configure tour steps".
13. Here you can select the webpart and a description.
14. Click on "Republish".

15. Click on "Start Tour".
16. To view all steps of the tour press next
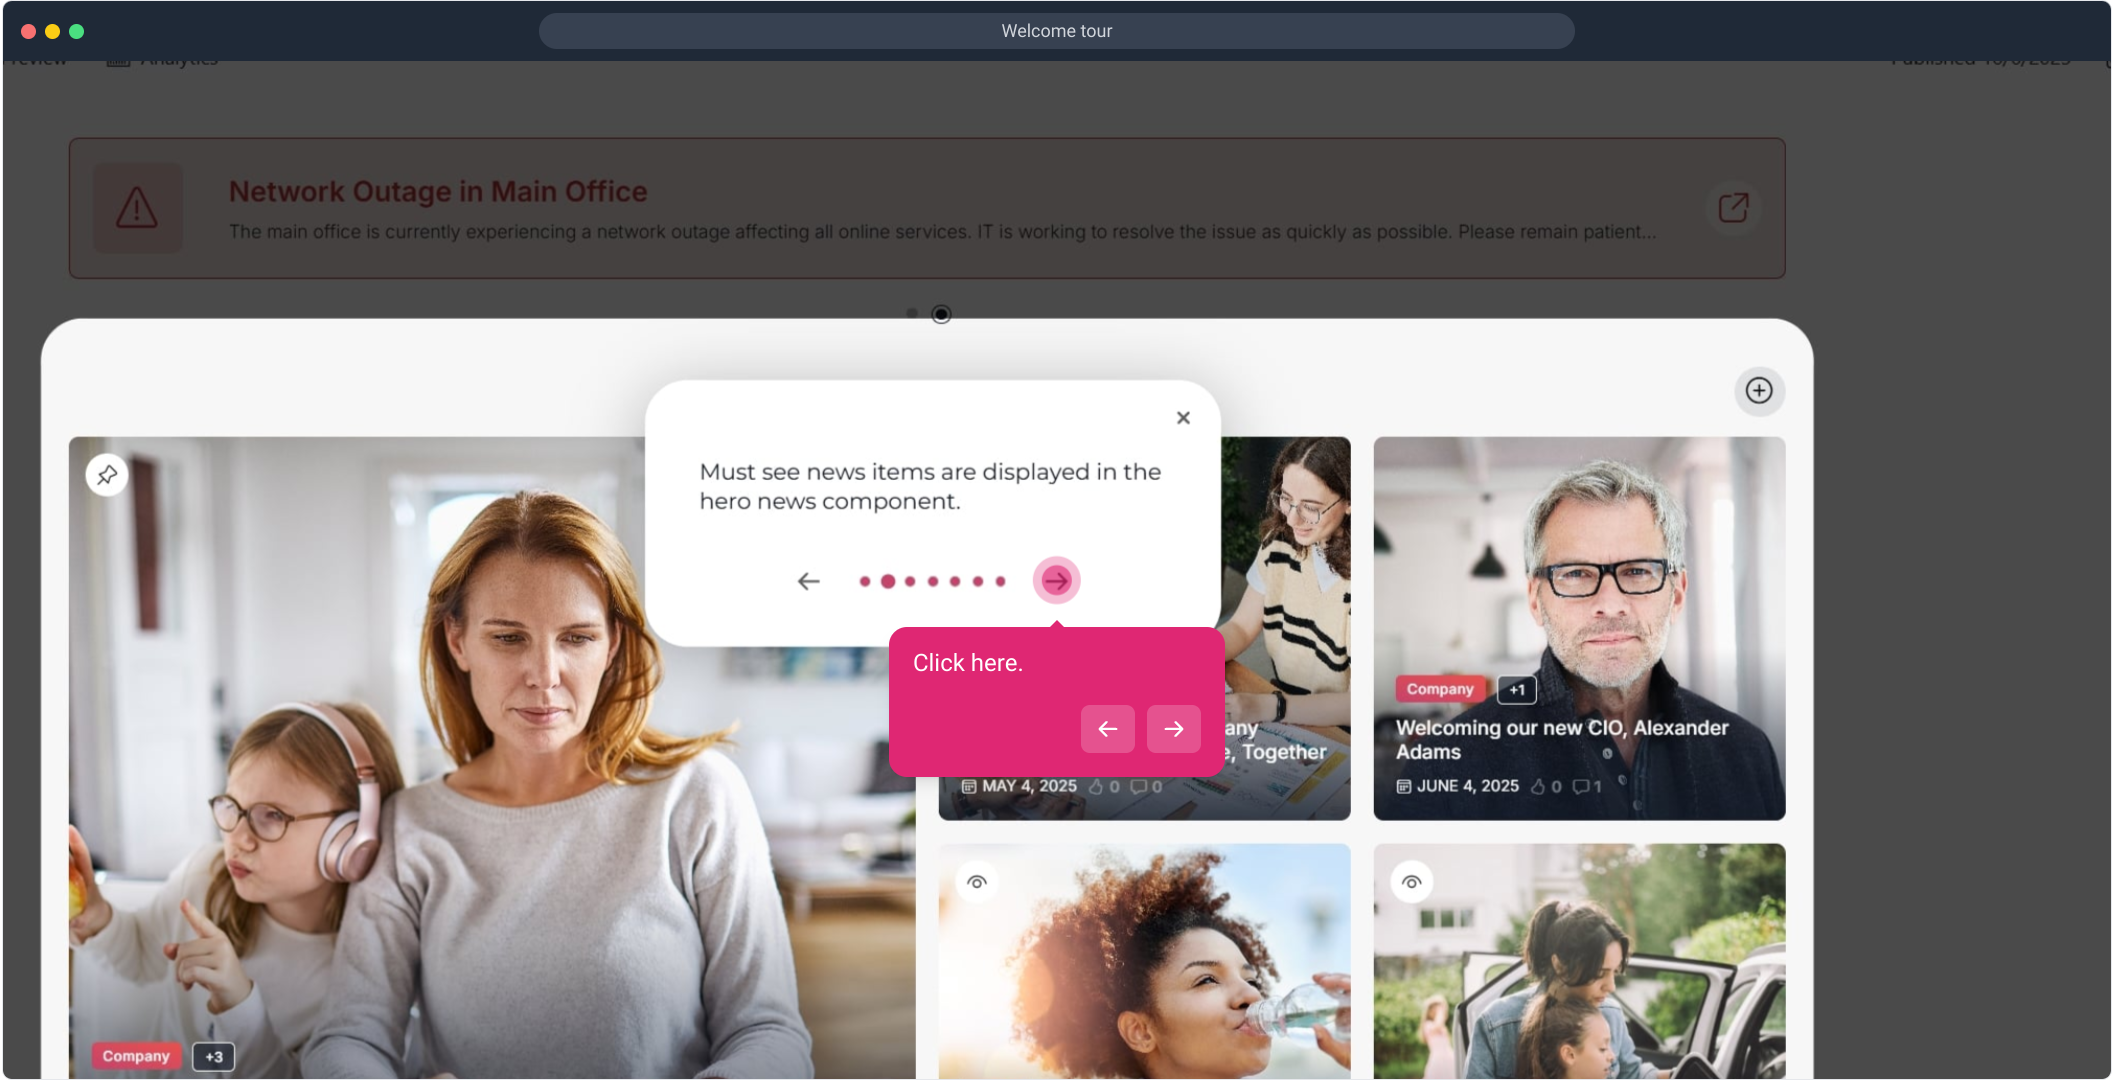
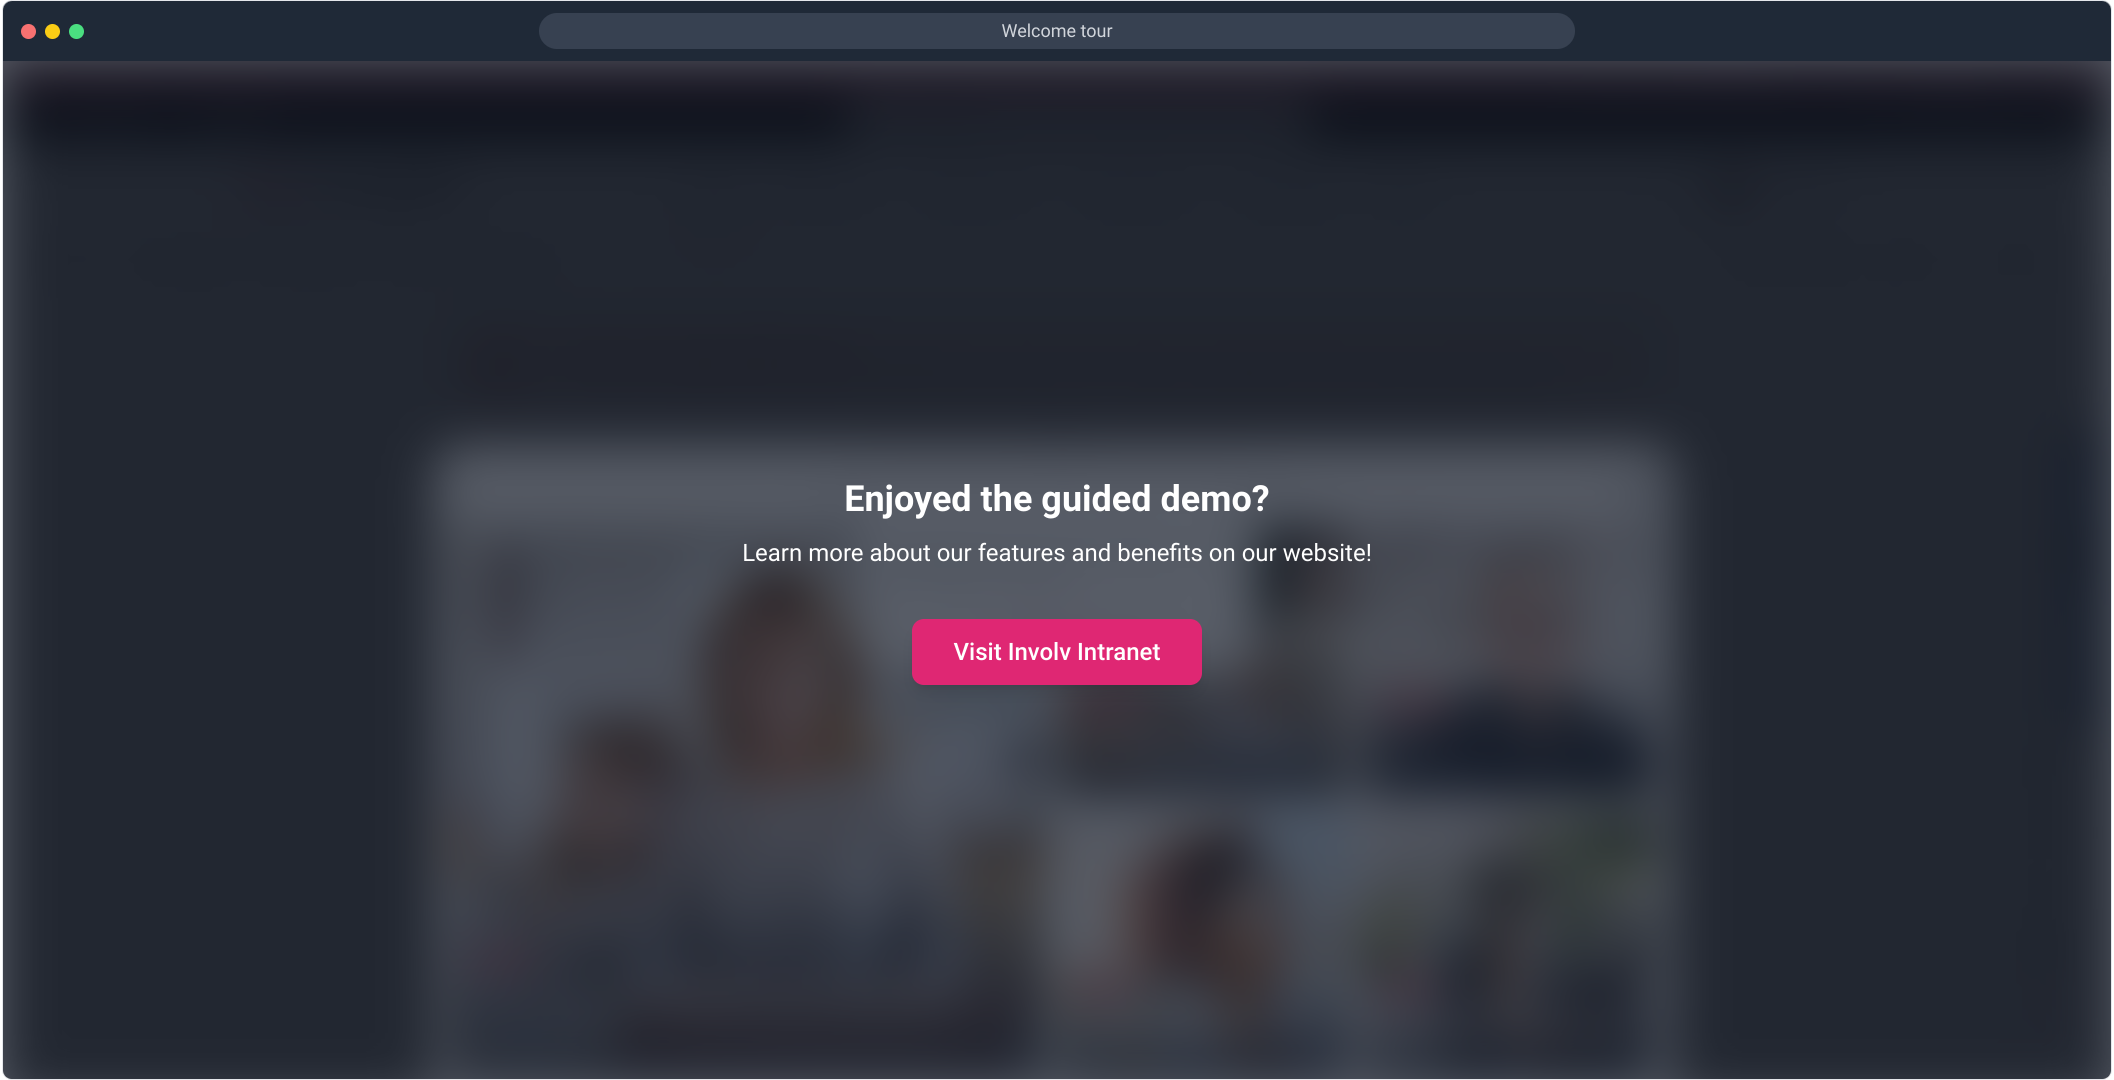
17. Click here.
18. Enjoyed the guided demo?
Please note: The video shown may reflect an earlier version of the platform. While the overall process remains similar, some labels, layout elements, or features may look slightly different in the current version of Involv.